SimCapture On-Premise Enterprise: How to use and work with session recording
Get the most out of your SimCapture On-Premise Enterprise session recording with guidance on how to use and work with the recording software.

Written by Tara Searight
Updated at November 13th, 2023
- SimCapture Cloud Release Notes
- SimCapture Cloud Administrator and Faculty Help
- SimCapture Cloud Learner Help
- SimCapture On-Premise Help
- SimCapture for Skills Help
- SimCapture Mobile Camera App
- SimCapture Companion Apps Help
- SimCapture Integrations Help
- Samaritan AI Help
- SimCapture Cloud Use Cases
- Hardware and Network Technical Information Help
- Glossary
SimCapture Enterprise allows for immediate capture of a recorded simulation session, addition of data to a session, and annotations that can be added during a session and after a session has been completed to facilitate a debriefing.
Preparing a recording session
To begin, log into your SimCapture Enterprise organization and select Start New Session from the home screen for the desired node.
- A blue room means the room is available to be used.
- A red room means the room is currently in session. You may join the session if you have permission to do so.
- A yellow room means that the room is online but has no inputs. Ensure that the server has at least one video and one audio source associated with it before starting a recording.
- A gray room means that the room is currently offline. If you see this unexpectedly, contact your system administrator or use the feedback button in the lower right-hand corner of the screen to report an issue.
At this point, you can choose to enter useful information about the session, which will help with reporting in the Session Settings area.
- Select Scenario - Select a scenario that has been pre-configured for the course selected. A scenario will contain data, evaluations, pre-defined annotations, and attachments used to enhance the user experience and extract meaningful data.
- Organization - select the appropriate organization.
- Title - A title is required. If no title is entered, the default title is the current month, day, year, and time.
- Location - The location where the session is recorded. Locations must be previously configured in system set-up.
- Simulator - if a simulator is to be used for a session, select it here.
- Participants - Add participants to the session.
- Notes - Free text field for any notes you want to add.
Recording and annotating a session
Click the Start Recording button to record your session. Once the recording is started, selections are saved, and the timer begins. The session menu will collapse but can be expanded by selecting the arrow at the middle right side of the screen.
The session menu has the following areas:
- Summary - Information that was added before starting the recording if the user chose to do so. It can be edited here during or after the simulation by selecting the pencil icon.
- People - Participants can be added to this area. Administrators may be added as contributors. These are inherited from the course if selected.
-
Annotate - Annotations can be entered before, during, and after a session. The use of annotations can be valuable for debriefing as a bookmark to a specific action demonstrated by the participant.
- If a scenario is used, the user may find pre-defined annotations that can be selected as the recording progresses. Pre-defined annotations are reportable for the number of times selected.
- A user can also add an ad-hoc annotation in the text field. These are not reportable but provide useful reminders of observed behavior.
- Event Log - Shows annotations that have been chosen in the order that they were chosen. You can also edit annotations live or post-session from the event log. Events in the log serve as a bookmark that will take you to that point in the session.
Select the Stop icon in the lower-left corner of the screen when the session is complete. The HTML 5 interface will return to the home screen, where you can choose to start another session or debrief the previously completed session.
Searching and viewing a completed session
From the home page, sessions can be found in three ways.
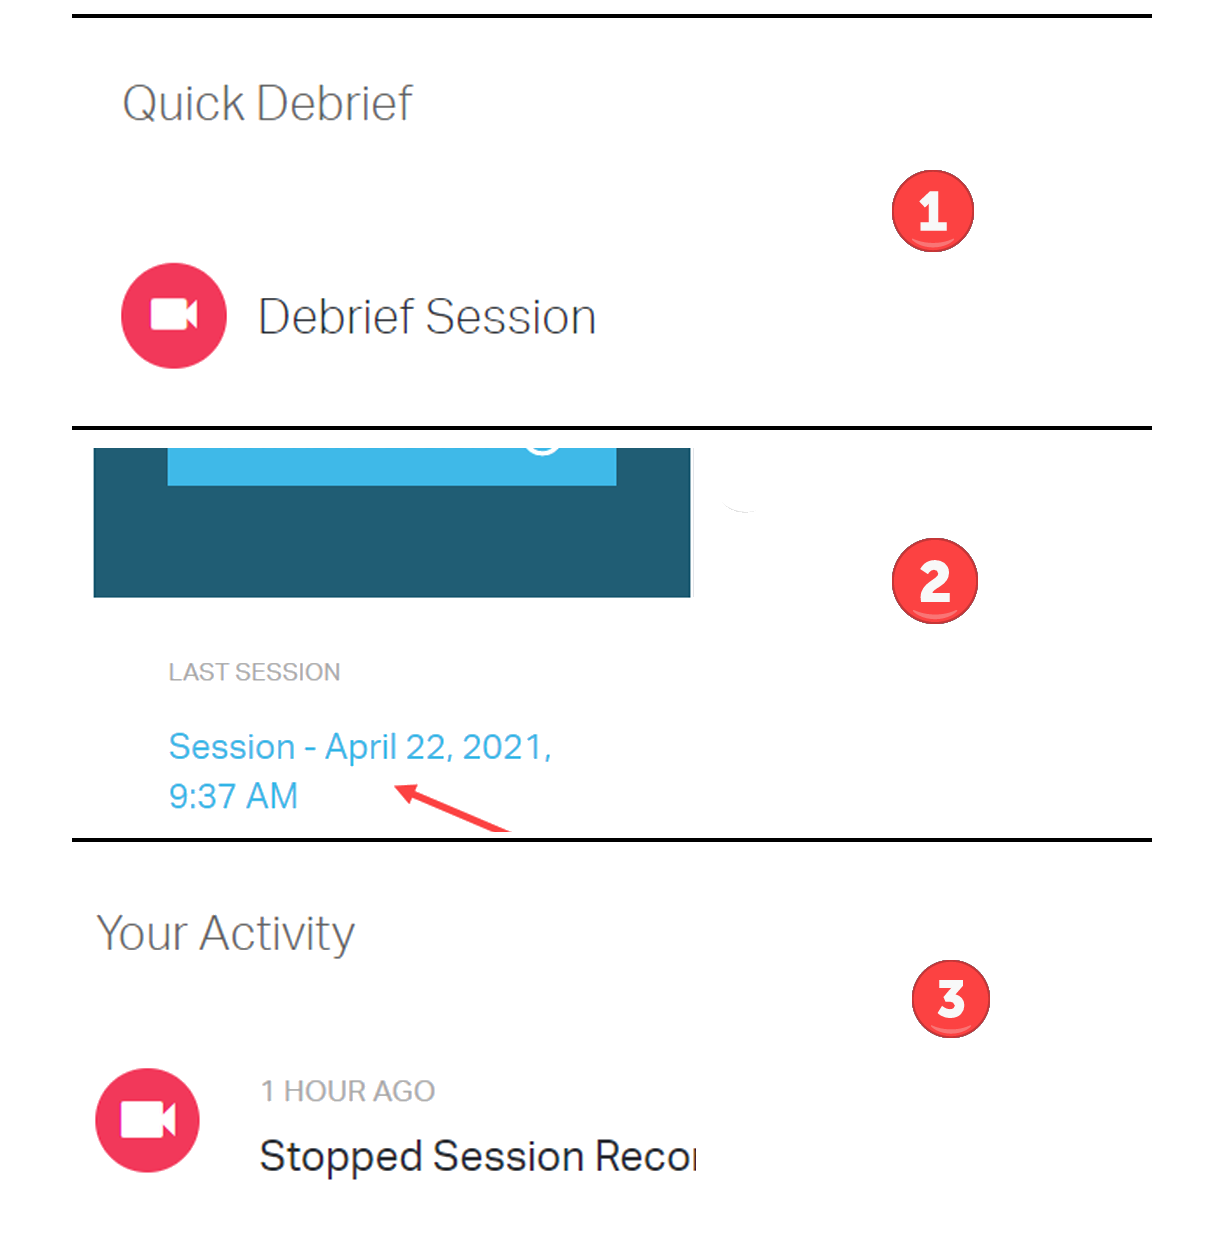
- Quick Debrief - Last session in which the User participated.
- Last Session - Last recording from a specific node or location. A link to the last recorded session will be present.
- Your Activity - Displays the last four sessions that were participated in.
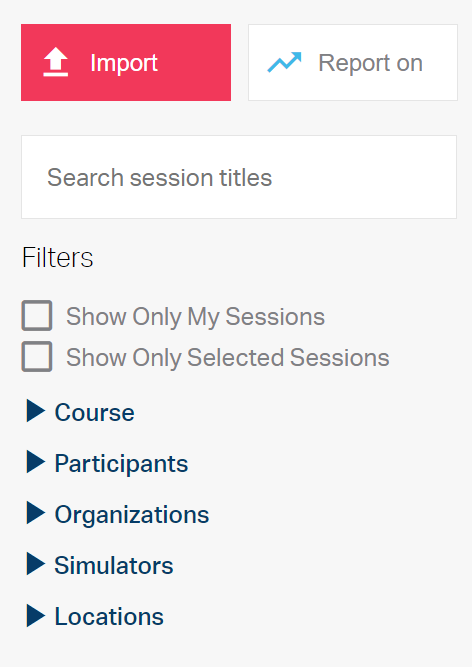
If you are an administrative user, you can also use the Sessions tab to search, view, and debrief a completed session. My Session, Selected Sessions, Scenario, Participants, Organization, Simulators, and Locations filters provide many options for searching for a specific session.
When a selected session is located, click the session to begin playback.
Debriefing a completed session
To debrief a completed session, you do not need to be on the local network to access administrative functionality or debrief sessions. You need to be on the local network to start a new session or join a live session in progress. Let's look at the quick steps to debrief a completed session.
If this was the last session you were associated with, check the Quick Debrief field to view your session. Otherwise, click Sessions in the Global navigation to find the Session you’re looking for, then click the Session Title.
The video will automatically start playing. You can pause/restart playing from the ![]() button to the left of the timeline.
button to the left of the timeline.
- If this is the first time a session is being debriefed, it may take a few seconds for the session to load. This is normal, but if the video takes longer than 10 seconds to load or certain feeds have trouble loading, please let us know so we can investigate.
To return to the session list, hover your mouse over the red line at the top of the screen to display the global navigation bar.
- Clicking the Back Button on your browser will also return you to the previous page.
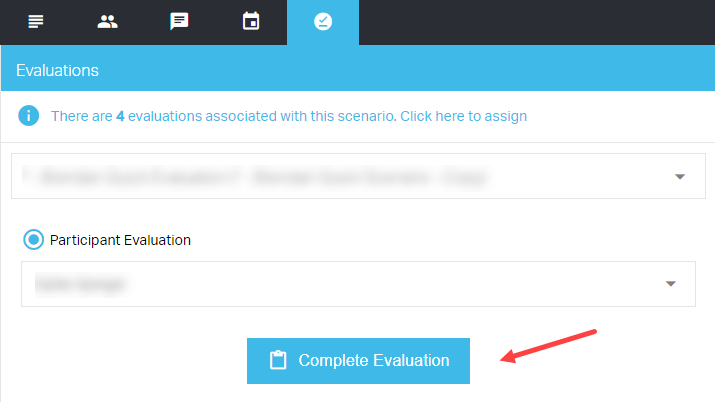
Assigning evaluations from debrief
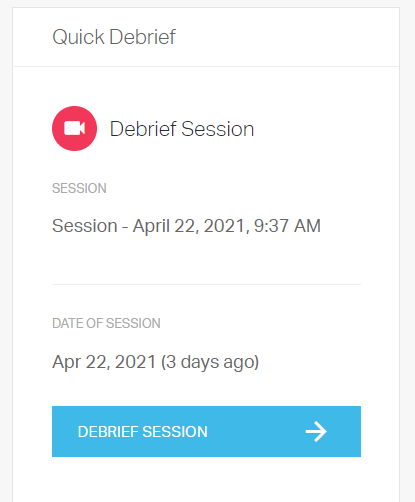
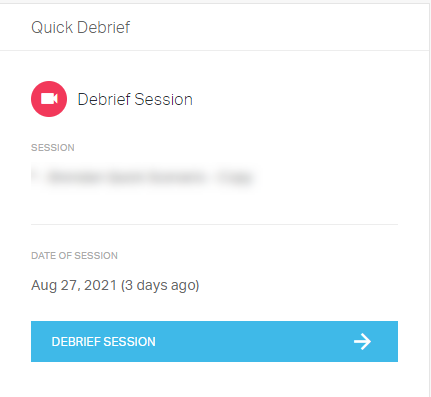
To assign an evaluation from Debrief, click Debrief Session in the Quick Debrief area of the homepage.
Then, click the blue sidebar tab and click the Evaluations icon. From there, select the evaluation and Participant Evaluation from the drop-down menus, click Complete Evaluation and then click Submit.
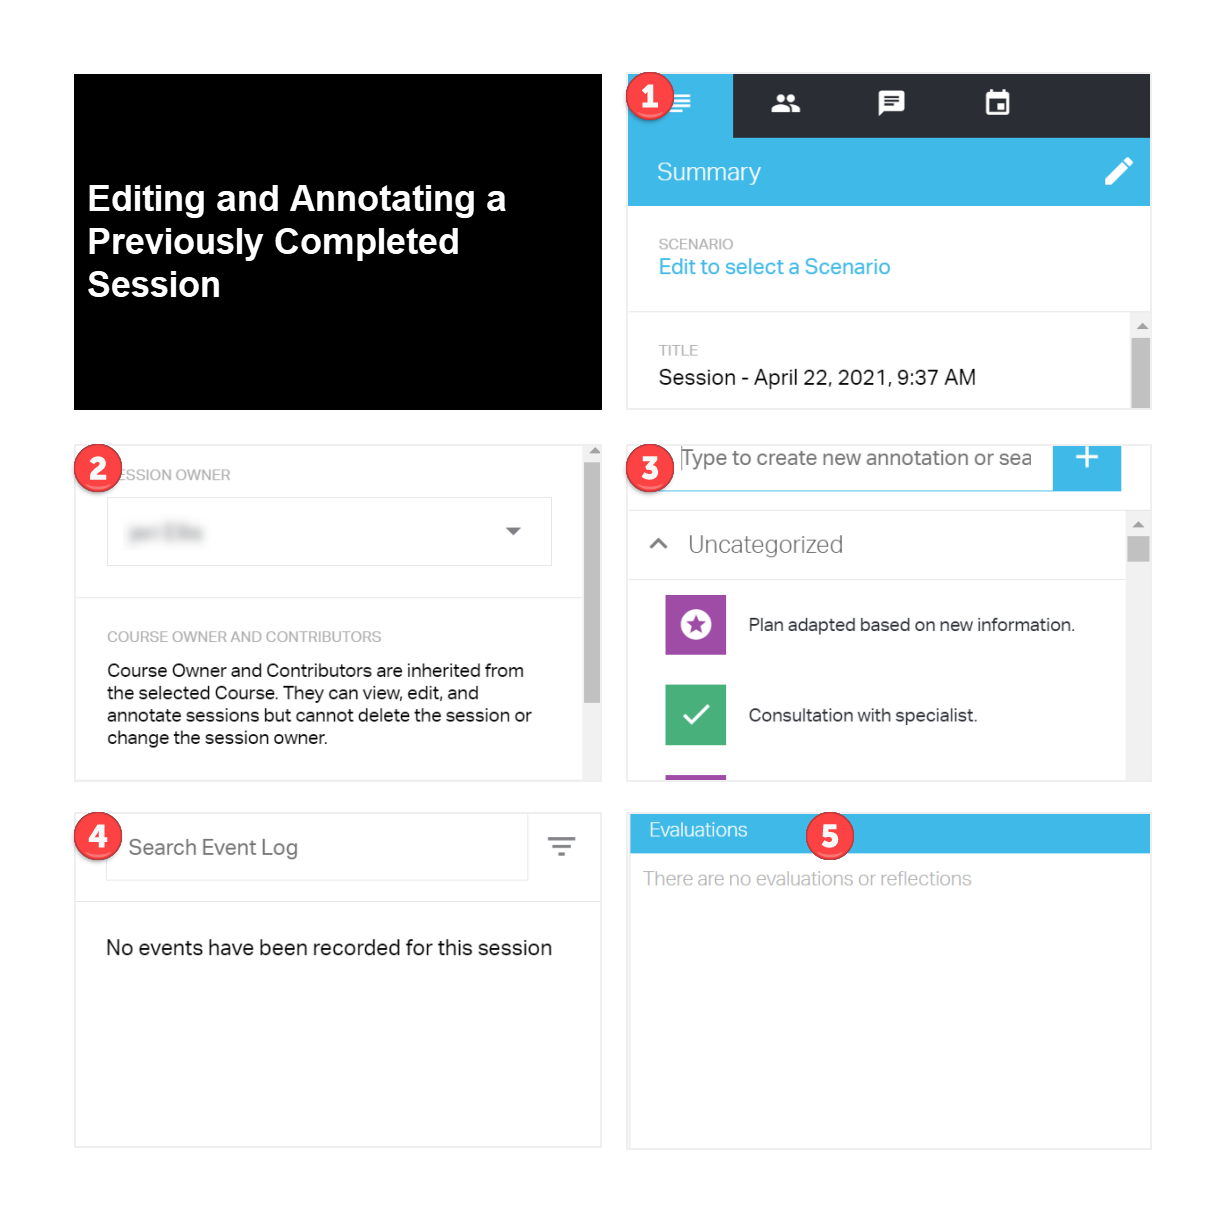
Editing, annotating and trimming a previously completed session
You can also edit, annotate and trim a session that is already completed by clicking the blue arrow to the right of the screen.
- Summary – Default tab where a user can edit fields by selecting the three dots to the right of the menu. Options include Edit, Download Video, and Delete.
- People – By selecting the pencil icon at the right of the People field, you can add Contributors, Participants, and Viewers to the session. Additionally, permissions related to Participants and Viewers may be modified. An external link may be created for sharing the Session.
- Annotate – If permitted, the user can add pre-defined annotations if a scenario was used. Ad-hoc annotations may also be added.
- Event Log – Logged events appear here in the chronological order that they were selected. Use the Event Log to move directly to a specific spot noted during the session. Annotations may be filtered and edited in the event log, and the annotation can include offset and text.
Trimming a session recording
To trim a completed session recording, click the session video you want to edit, go to the lower right-hand corner of your screen and click the Trim symbol ![]() . Edit your video and then click Save.
. Edit your video and then click Save.
Note that once this has been done, SimCapture preserves both the original video and edited video in the Sessions tab for user access. Any evaluations completed before the trimming takes place will stay with the original session.