SimCapture On-Premise Enterprise: How to access and configure the Enterprise system
Table of Contents
- SimCapture Cloud Release Notes
- SimCapture Cloud Administrator and Faculty Help
- SimCapture Cloud Learner Help
- SimCapture On-Premise Help
- SimCapture for Skills Help
- SimCapture Mobile Camera App
- SimCapture Companion Apps Help
- SimCapture Integrations Help
- Samaritan AI Help
- SimCapture Cloud Use Cases
- Hardware and Network Technical Information Help
- Glossary
Configuring the SimCapture Enterprise system correctly will enable you to collect robust data to meet your operational needs. SimCapture Enterprise can provide center Usage reports, Events, Assessment reports, and batch reports for Educators and Learners. SimCapture Enterprise allows for different permissions (based on need) to prevent system errors while allowing appropriate access.
Location of administrative tools
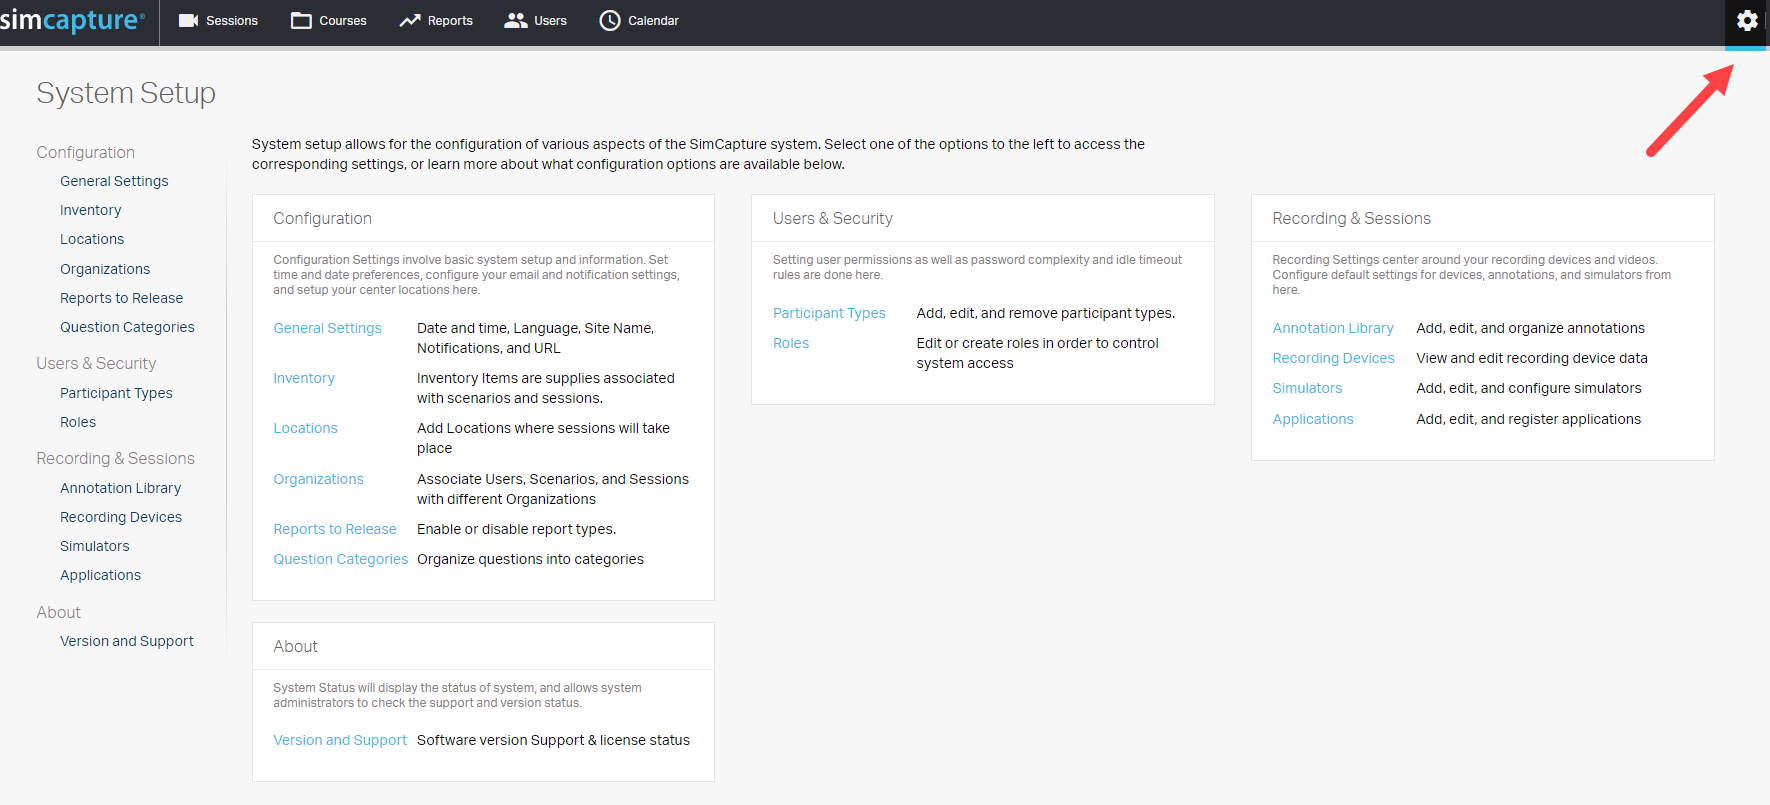
At the top right of the global navigation bar, click the gear icon, as shown by the red arrow, for System Setup. There are four main menu fields, Configuration, Users & Security, Recording & Sessions, and About. In the center of the screen, you will see that each field contains links to various areas within your organization. Additionally, the same fields and links are shown on the left-hand side of the screen.
System Administrators are the only users that have the ability to set up and/or edit these areas.

Configuration field
Organizations
Organizations in SimCapture Enterprise are used to associate Users, Scenarios, and Sessions with different organizations within a system. Additionally, Organizations can categorize data for reporting when multiple departments or institutions are using the same system. The organizational structure also controls access to content based on hierarchy.
To view and edit Organizations, click Organizations then, click Edit. When you are finished with your viewing or making changes, click Save.


Locations
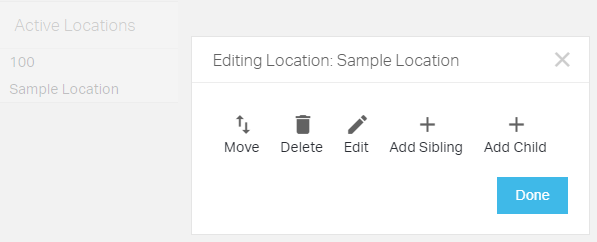
To access and edit the Locations area, click the Locations link, then click Edit. From that point, you can Move, Delete, Edit (the location name), Add Sibling, or Add Child. Once you have completed your actions, click Done and then click Save.
Note: Tracking of specific rooms (locations) can be useful as a filter when reporting. The administrator must make the location available in the system for assignment to session.

Inventory
Inventory items are supplies associated with scenarios or sessions. This is not for inventory management but rather, adding specific equipment to a scenario or session. Items that are added to sessions may be selected for Usage reports.
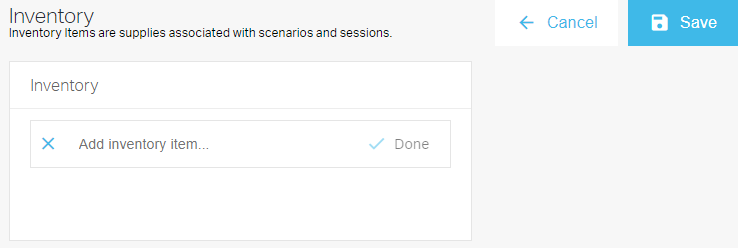
To access and edit the Inventory area, click the Inventory link, click Edit, click + Add inventory item, name the item, click Done, and finally, click Save.

Reports to release
The System Administrator can select what reports a learner will view when reviewing a session. To access and edit the Reports to Release area, click the Reports to Release link, click Edit and then enable or disable report types by selecting from one of three fields, Distribution, Statistics, and/or Evaluations.

Note: The System setup setting determines which reports are included for release when reports are released at the course level. Checking the boxes in the system setup isn't going to impact anything without the report being released at the Course level.
General settings
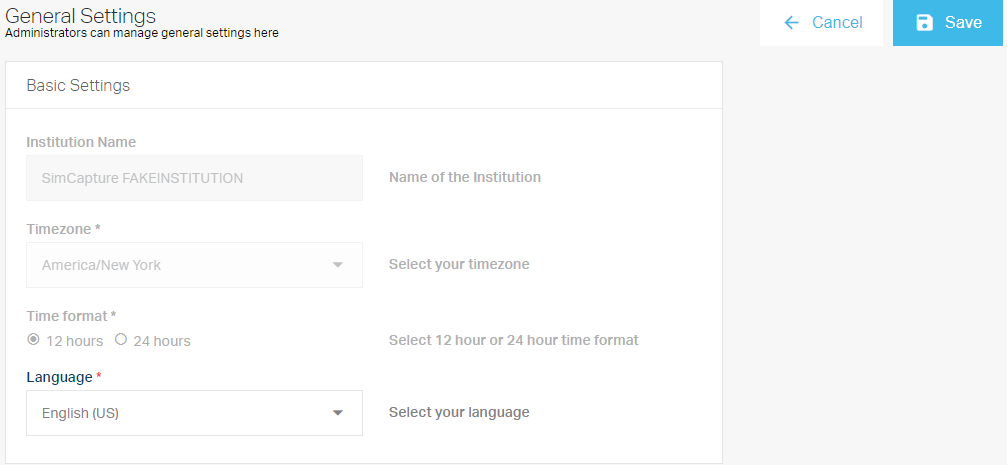
To access and edit the General Settings area, click the General Settings link and then click Edit. Once your changes have been made, click Save.
