SimCapture Pro: Administrator iOS app
Mobile access and control for SimCapture administrators
Table of Contents
- SimCapture Cloud Release Notes
- SimCapture Cloud Administrator and Faculty Help
- SimCapture Cloud Learner Help
- SimCapture On-Premise Help
- SimCapture for Skills Help
- SimCapture Mobile Camera App
- SimCapture Companion Apps Help
- SimCapture Integrations Help
- Samaritan Help
- SimCapture Cloud Use Cases
- Hardware and Network Technical Information Help
- Glossary
Things to know before you begin
The SimCapture Cloud iOS app is available for free on the iOS App Store for current SimCapture Cloud subscribers. To download the app, click here from your mobile device or search for "SimCapture Cloud" in the App Store.
App features
Features marked with a * are available only on the iPad.
- Record, annotate, and upload videos to your SimCapture Cloud site.
- Associate mobile recordings with Scenarios, Locations, and Organizations.
- Share recorded sessions with other users directly from the app.
- Debrief sessions recorded both with and without the app.
- *Manage Users, Scenarios, and Sessions.
- *View system usage reports.
The SimCapture Pro Mobile iOS App does not support live streaming, simulator data integration, LLEAP data, or monitor feeds.
Note: Users must be Administrators or System Administrators in their application and have permission to Start, Join, and Manage Sessions to use the mobile app.
Using the app
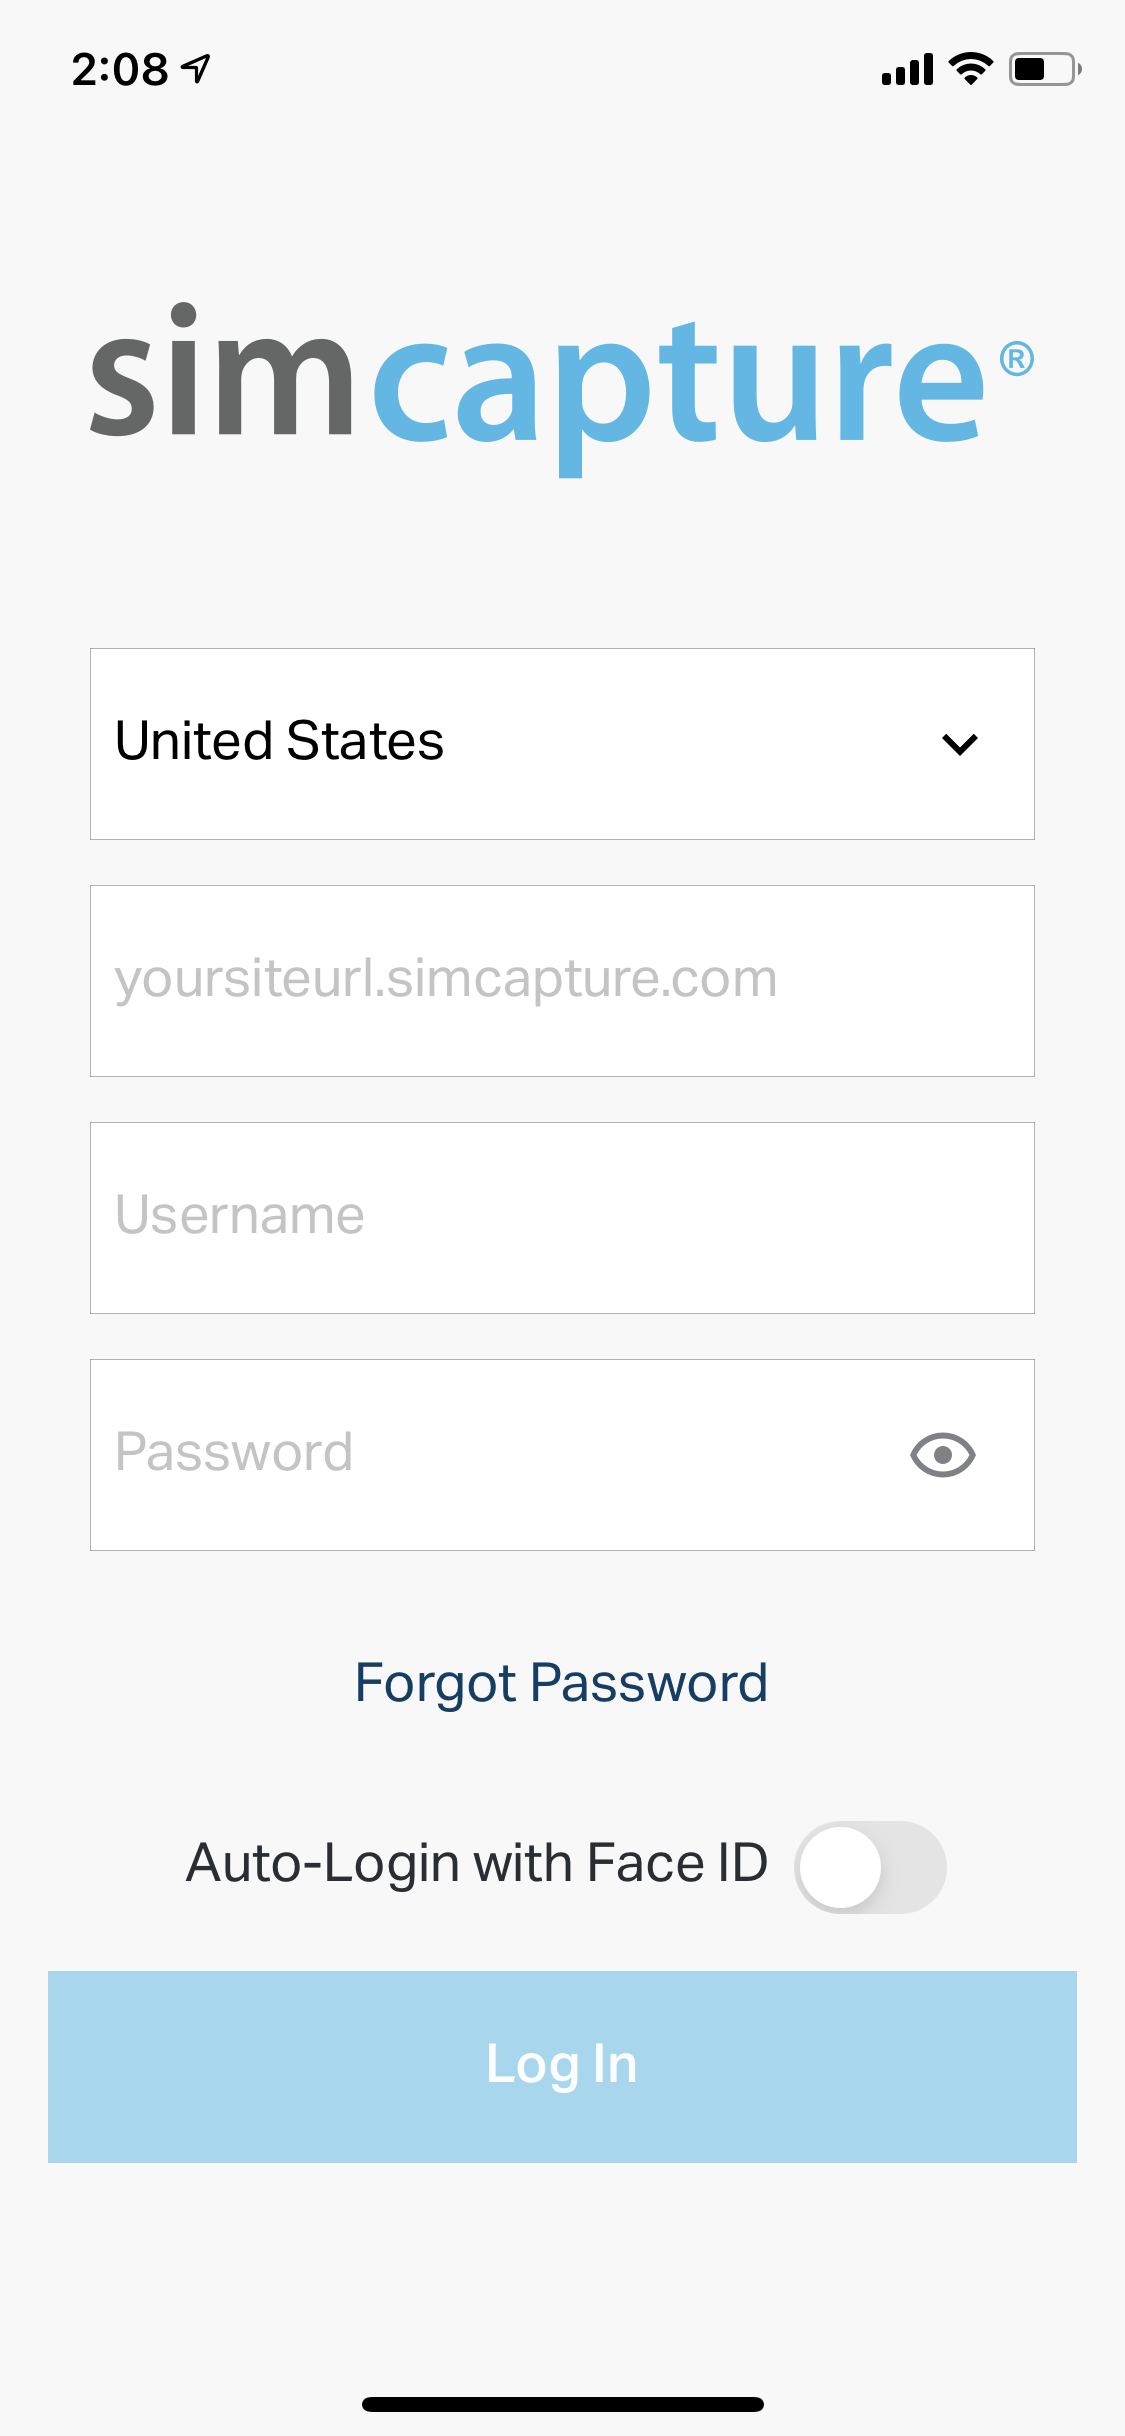
Logging in
|
 |
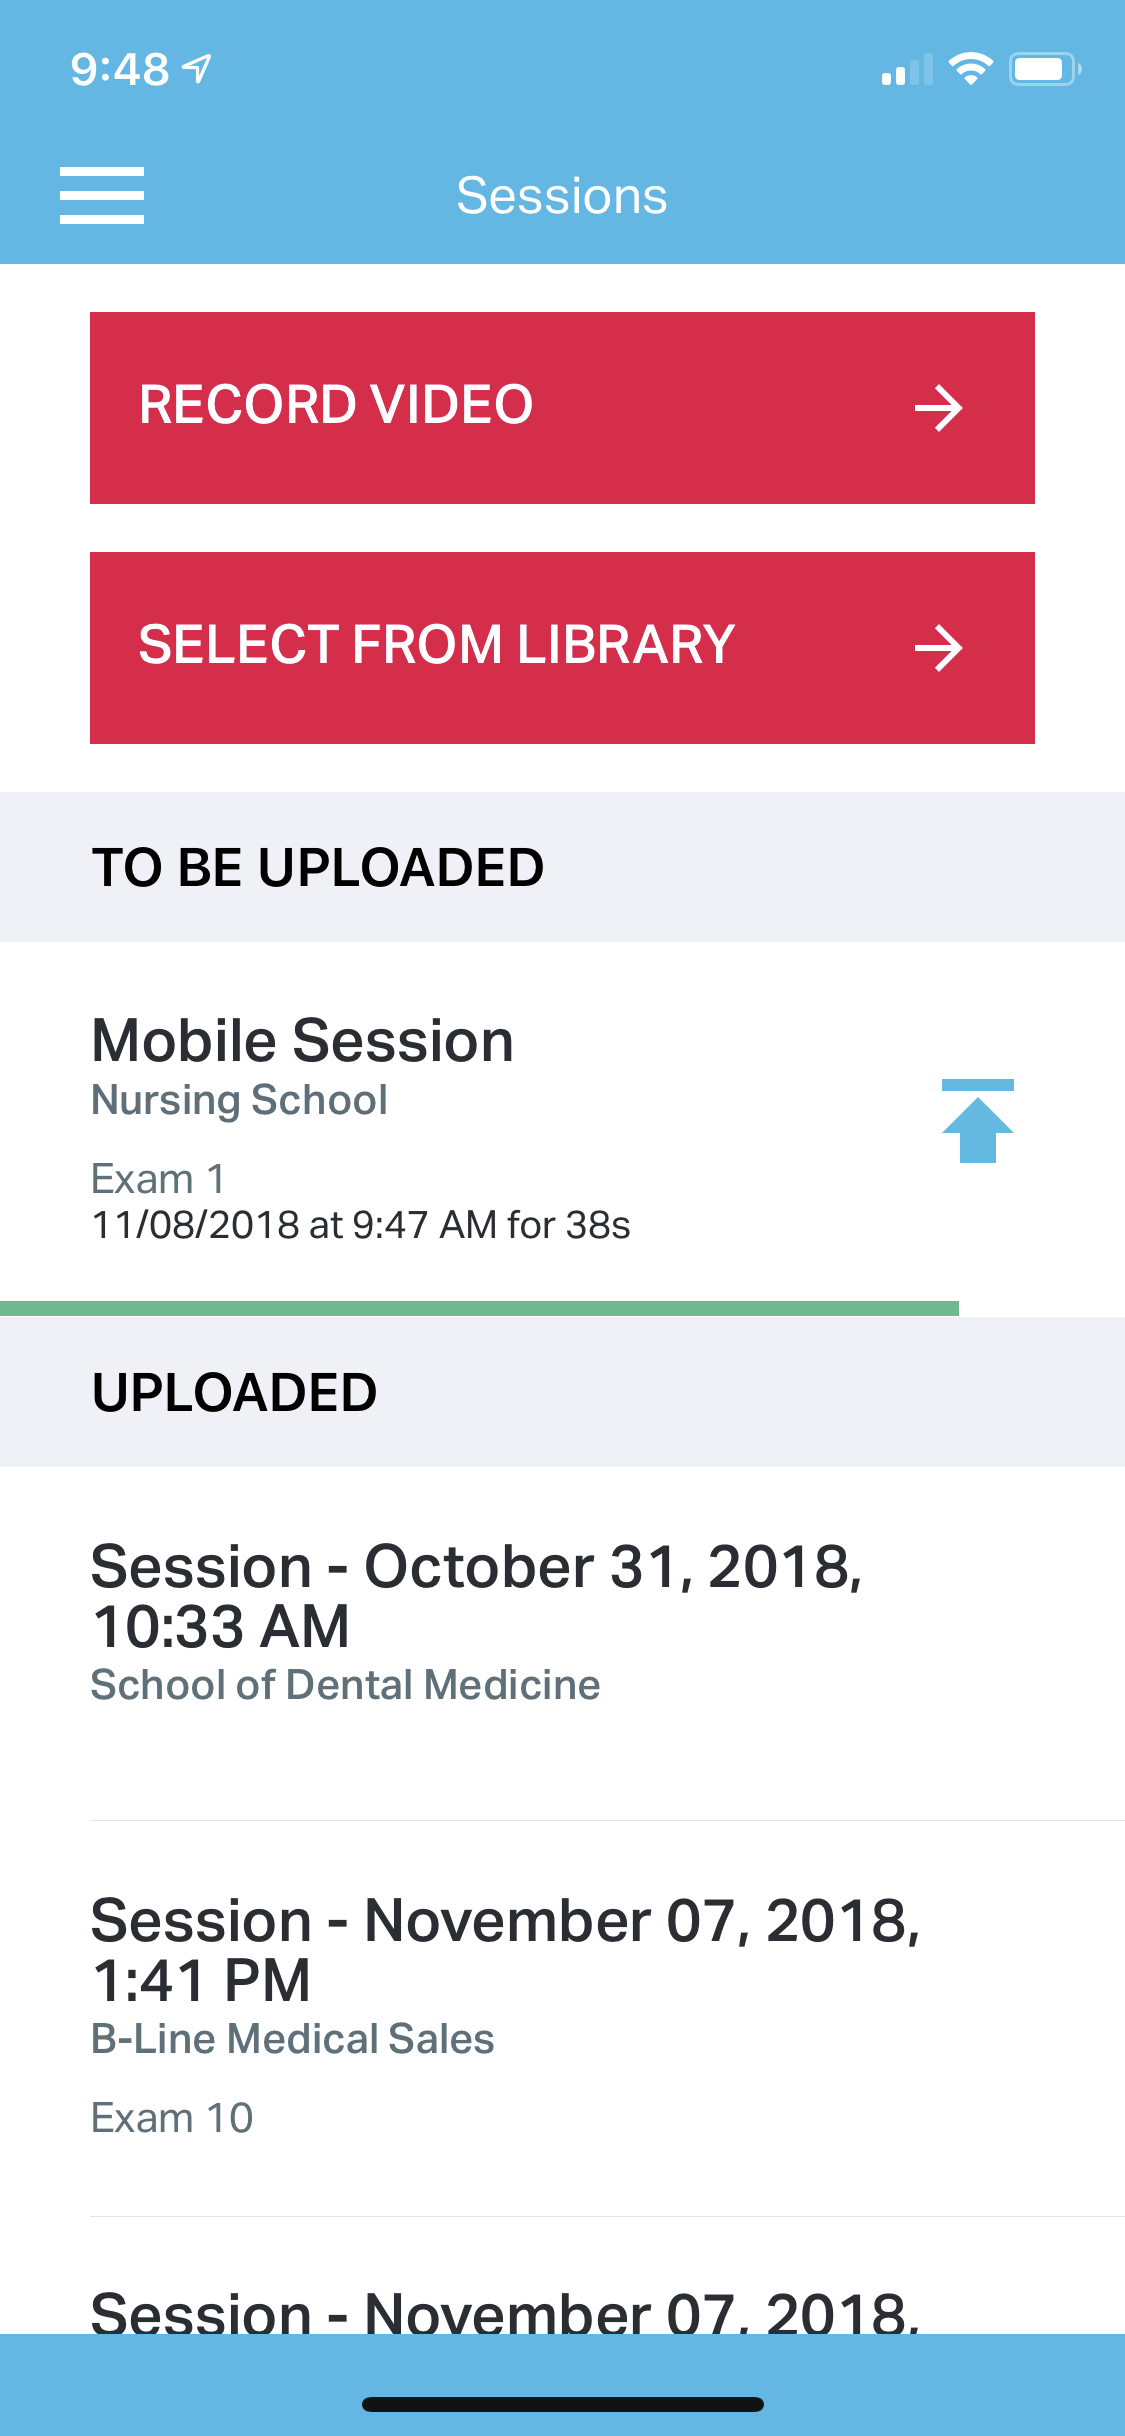
Starting a sessionUpon logging in, you will see a session list screen that allows you to playback any sessions in your organization. Clicking Record will present three options:
As the host, you can start and stop recordings on your primary device and control up to three additional iOS devices, enabling different viewing angles for a single session. Note that only the host device can start/stop recordings and make annotations. |
|
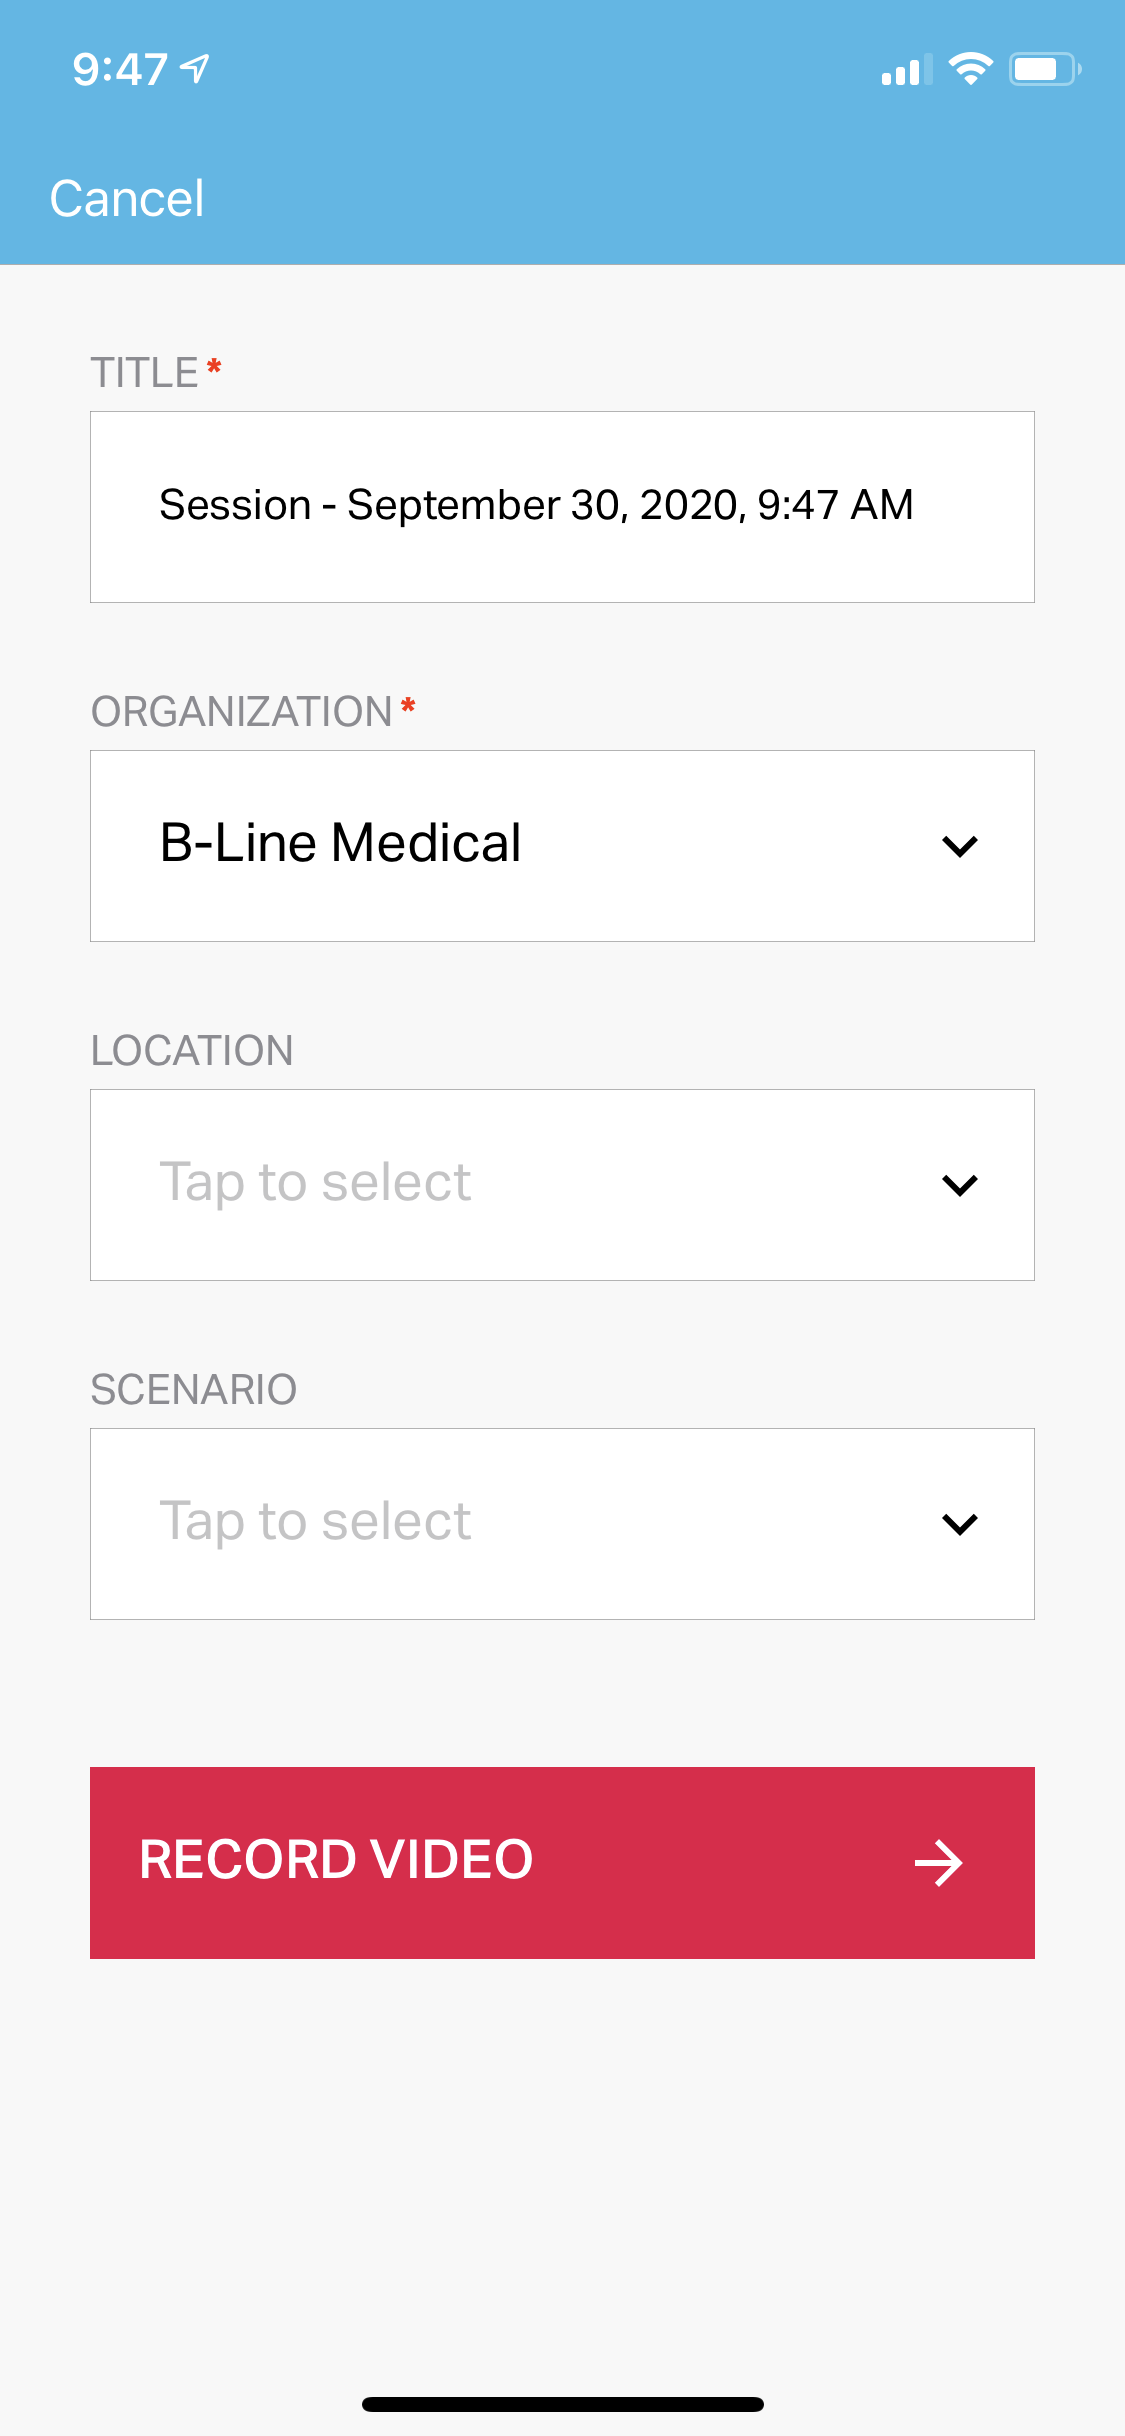
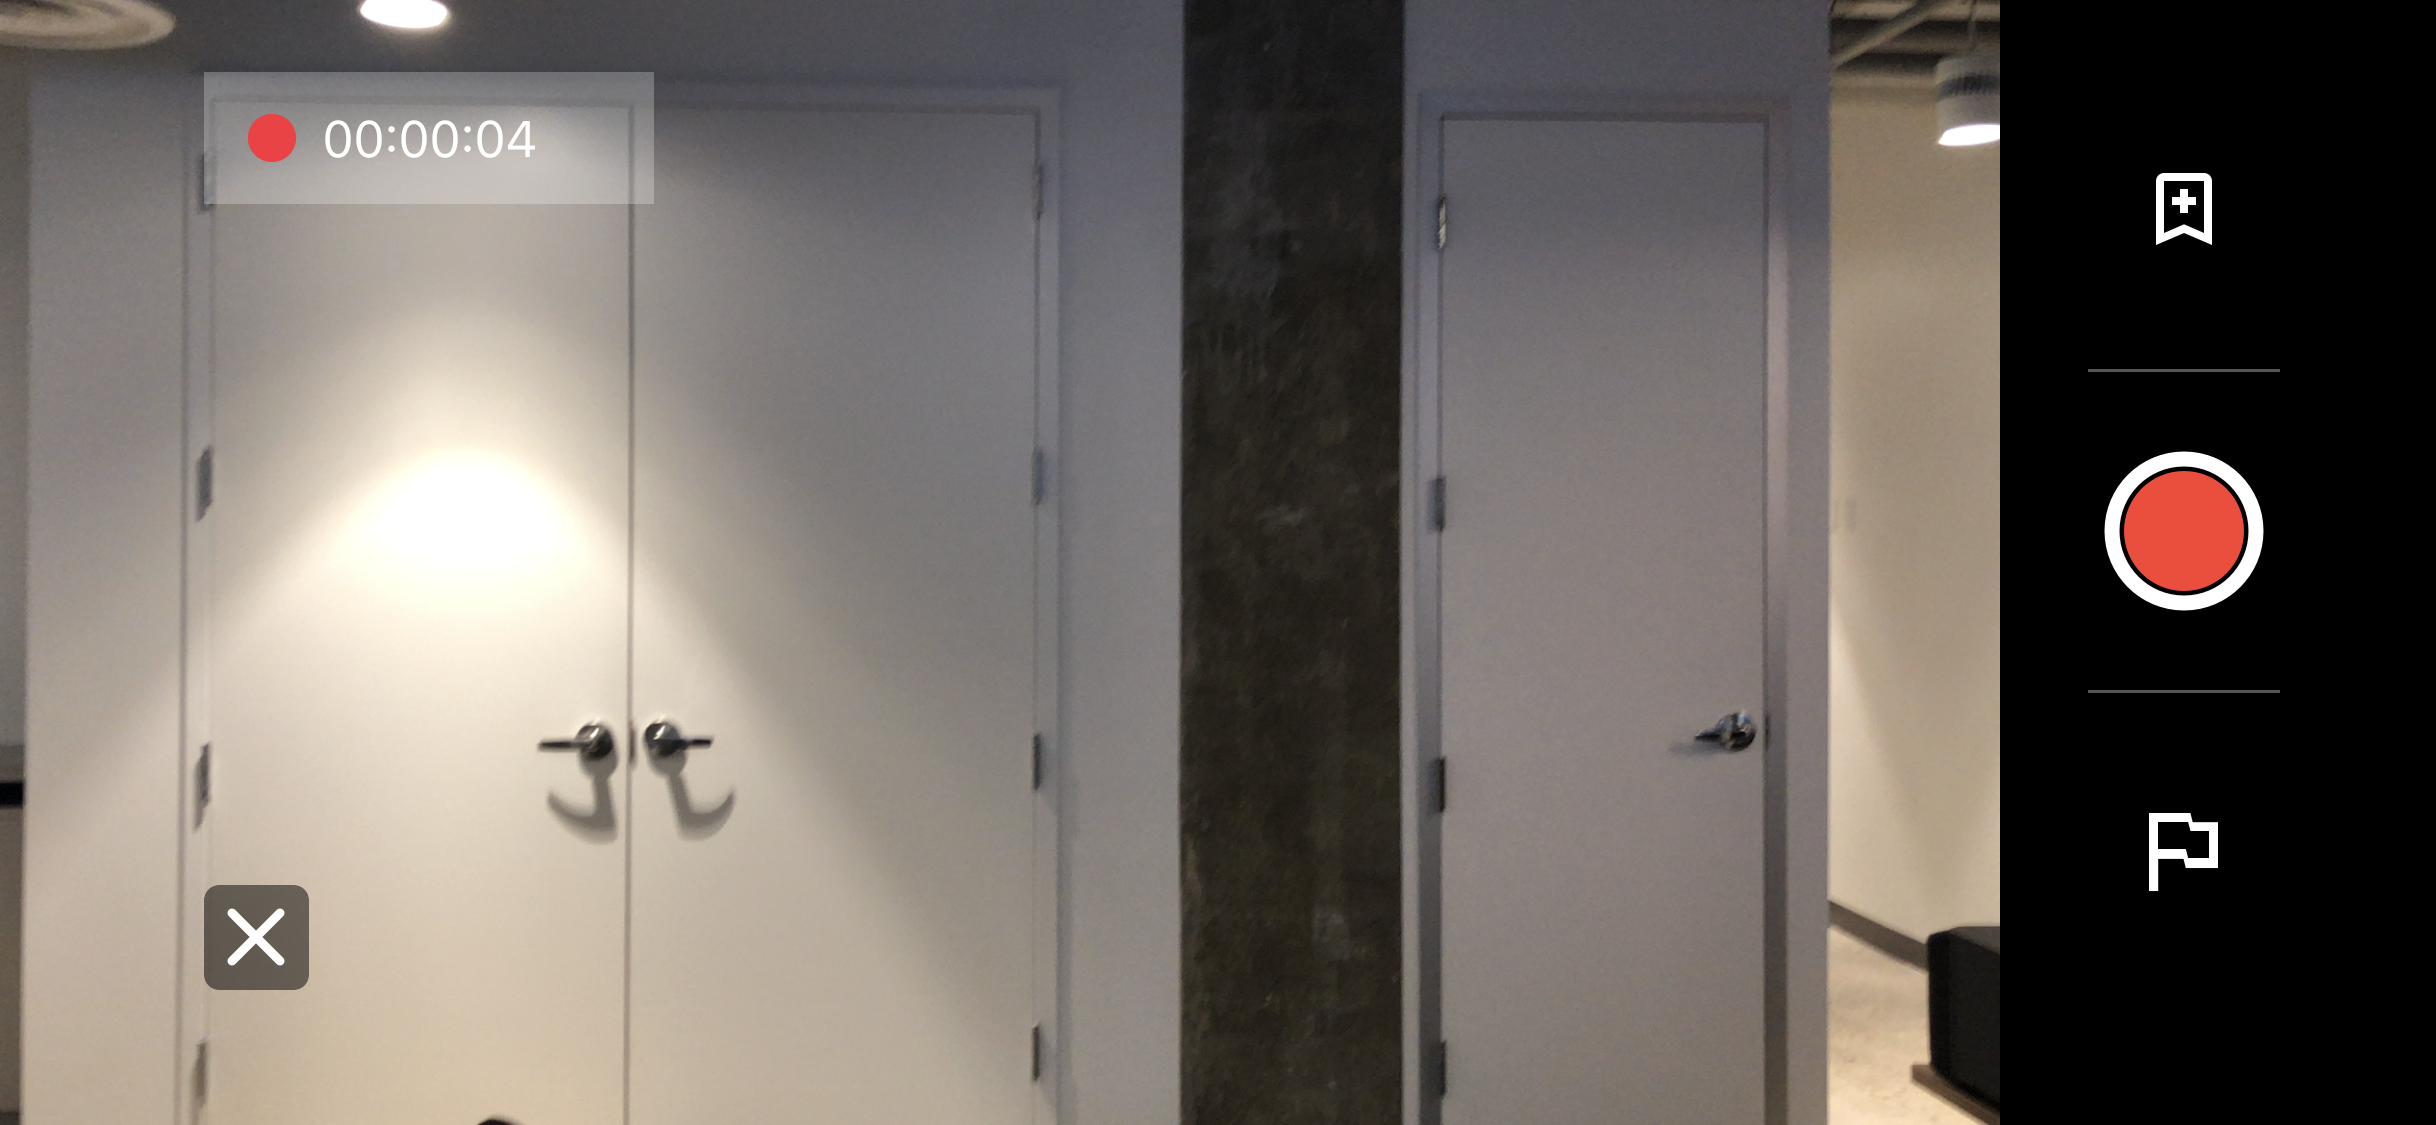
Recording a sessionAfter selecting a recording type, you will need to provide additional session details, including Title, Scenario, Location, and Organization. Once the session information is complete, the camera will be ready to record. Click the recording button to start. If you chose to host or connect to a multi-cam recording, you may see additional devices connecting. To end the recording, tap the record button again and confirm your choice to stop recording. |
 |
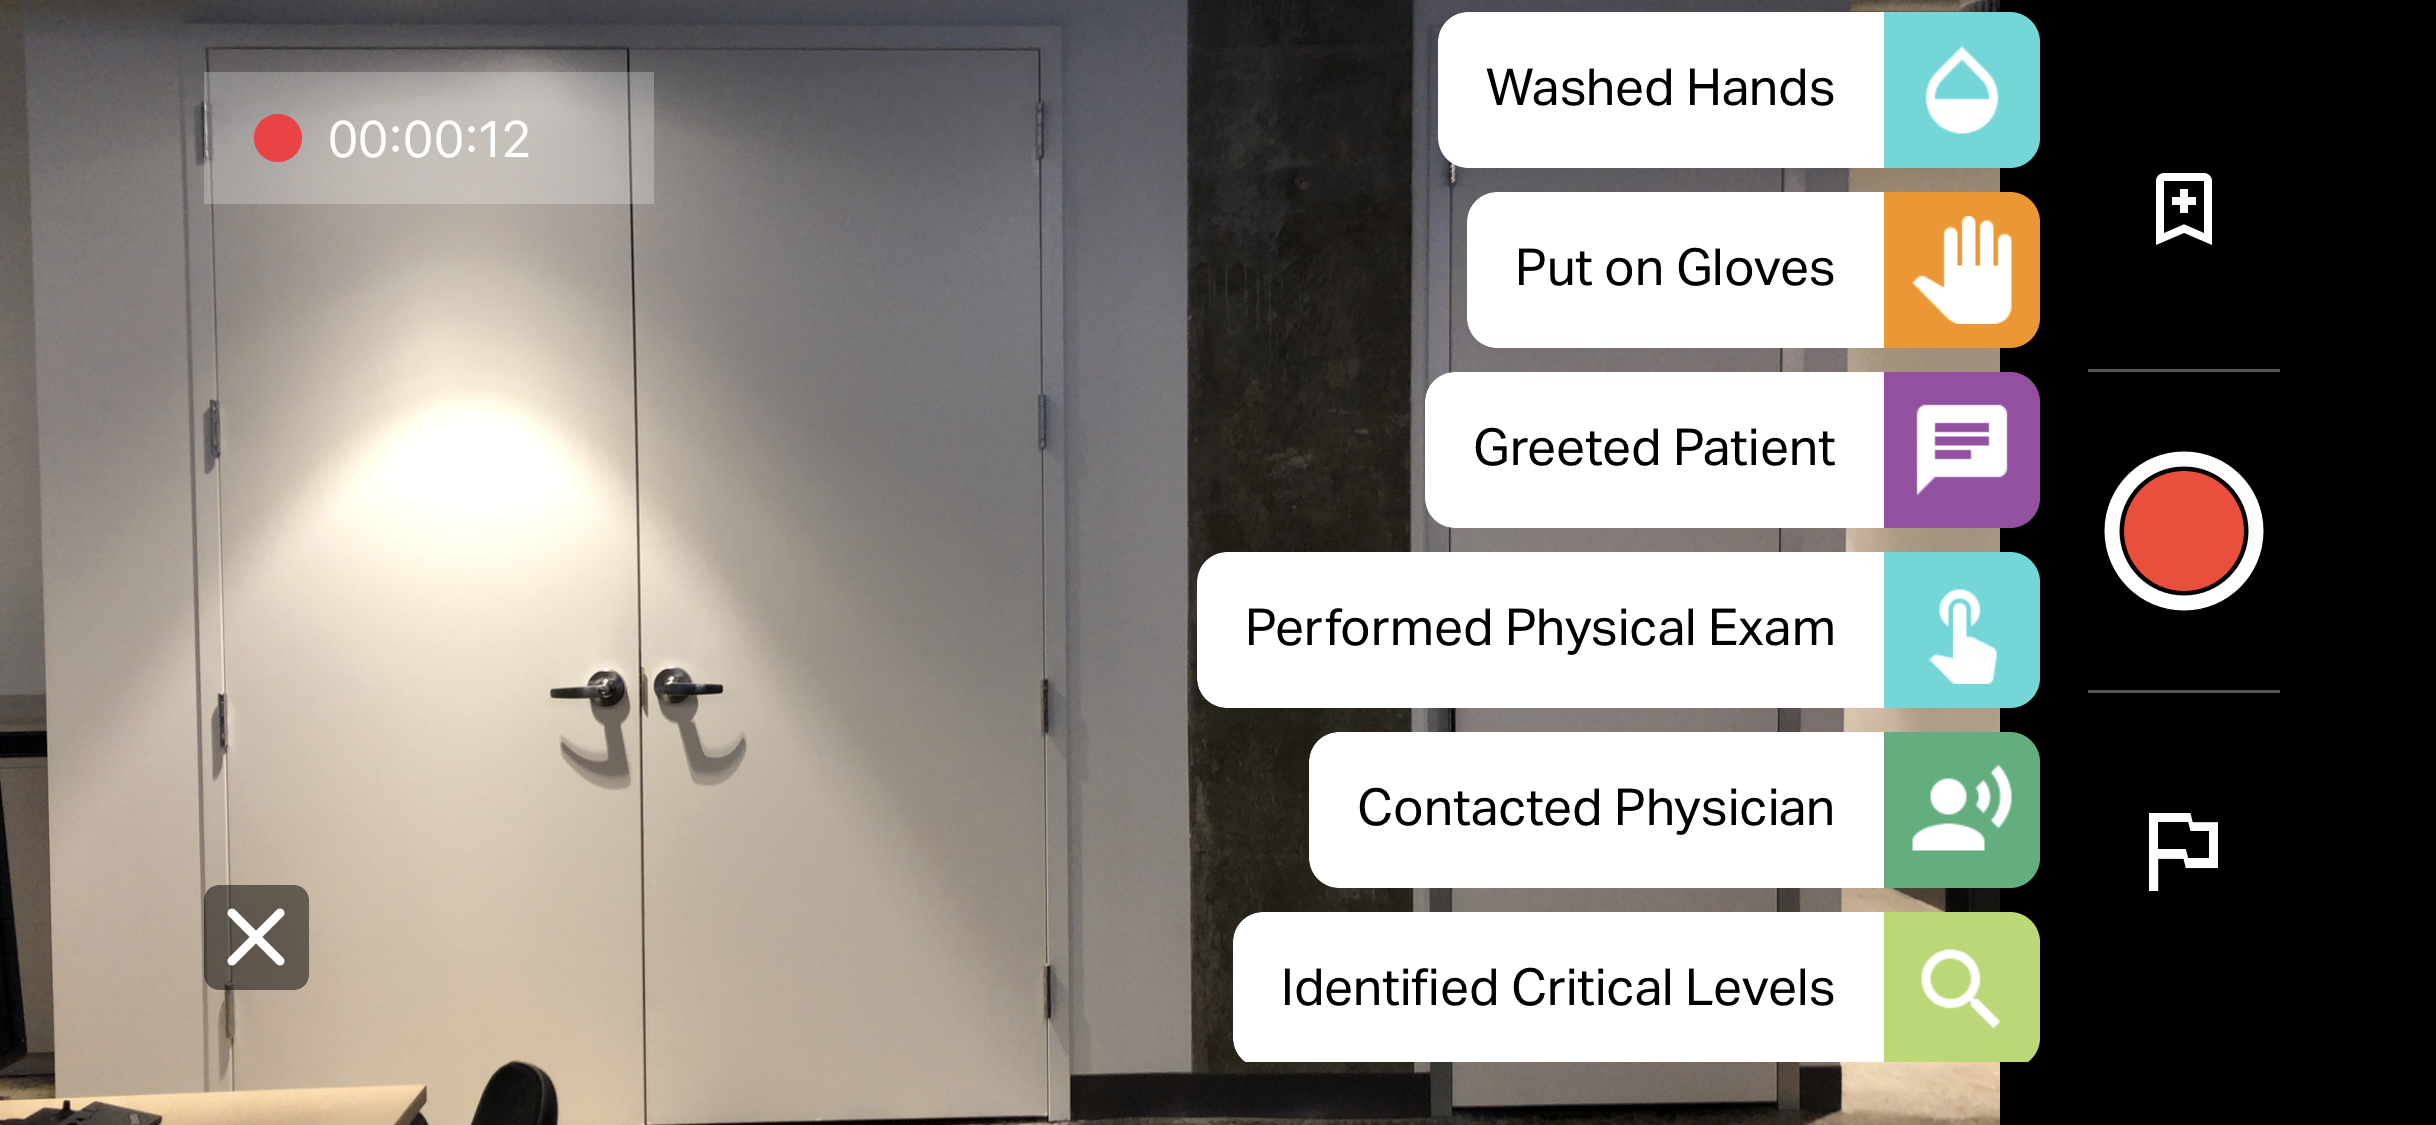
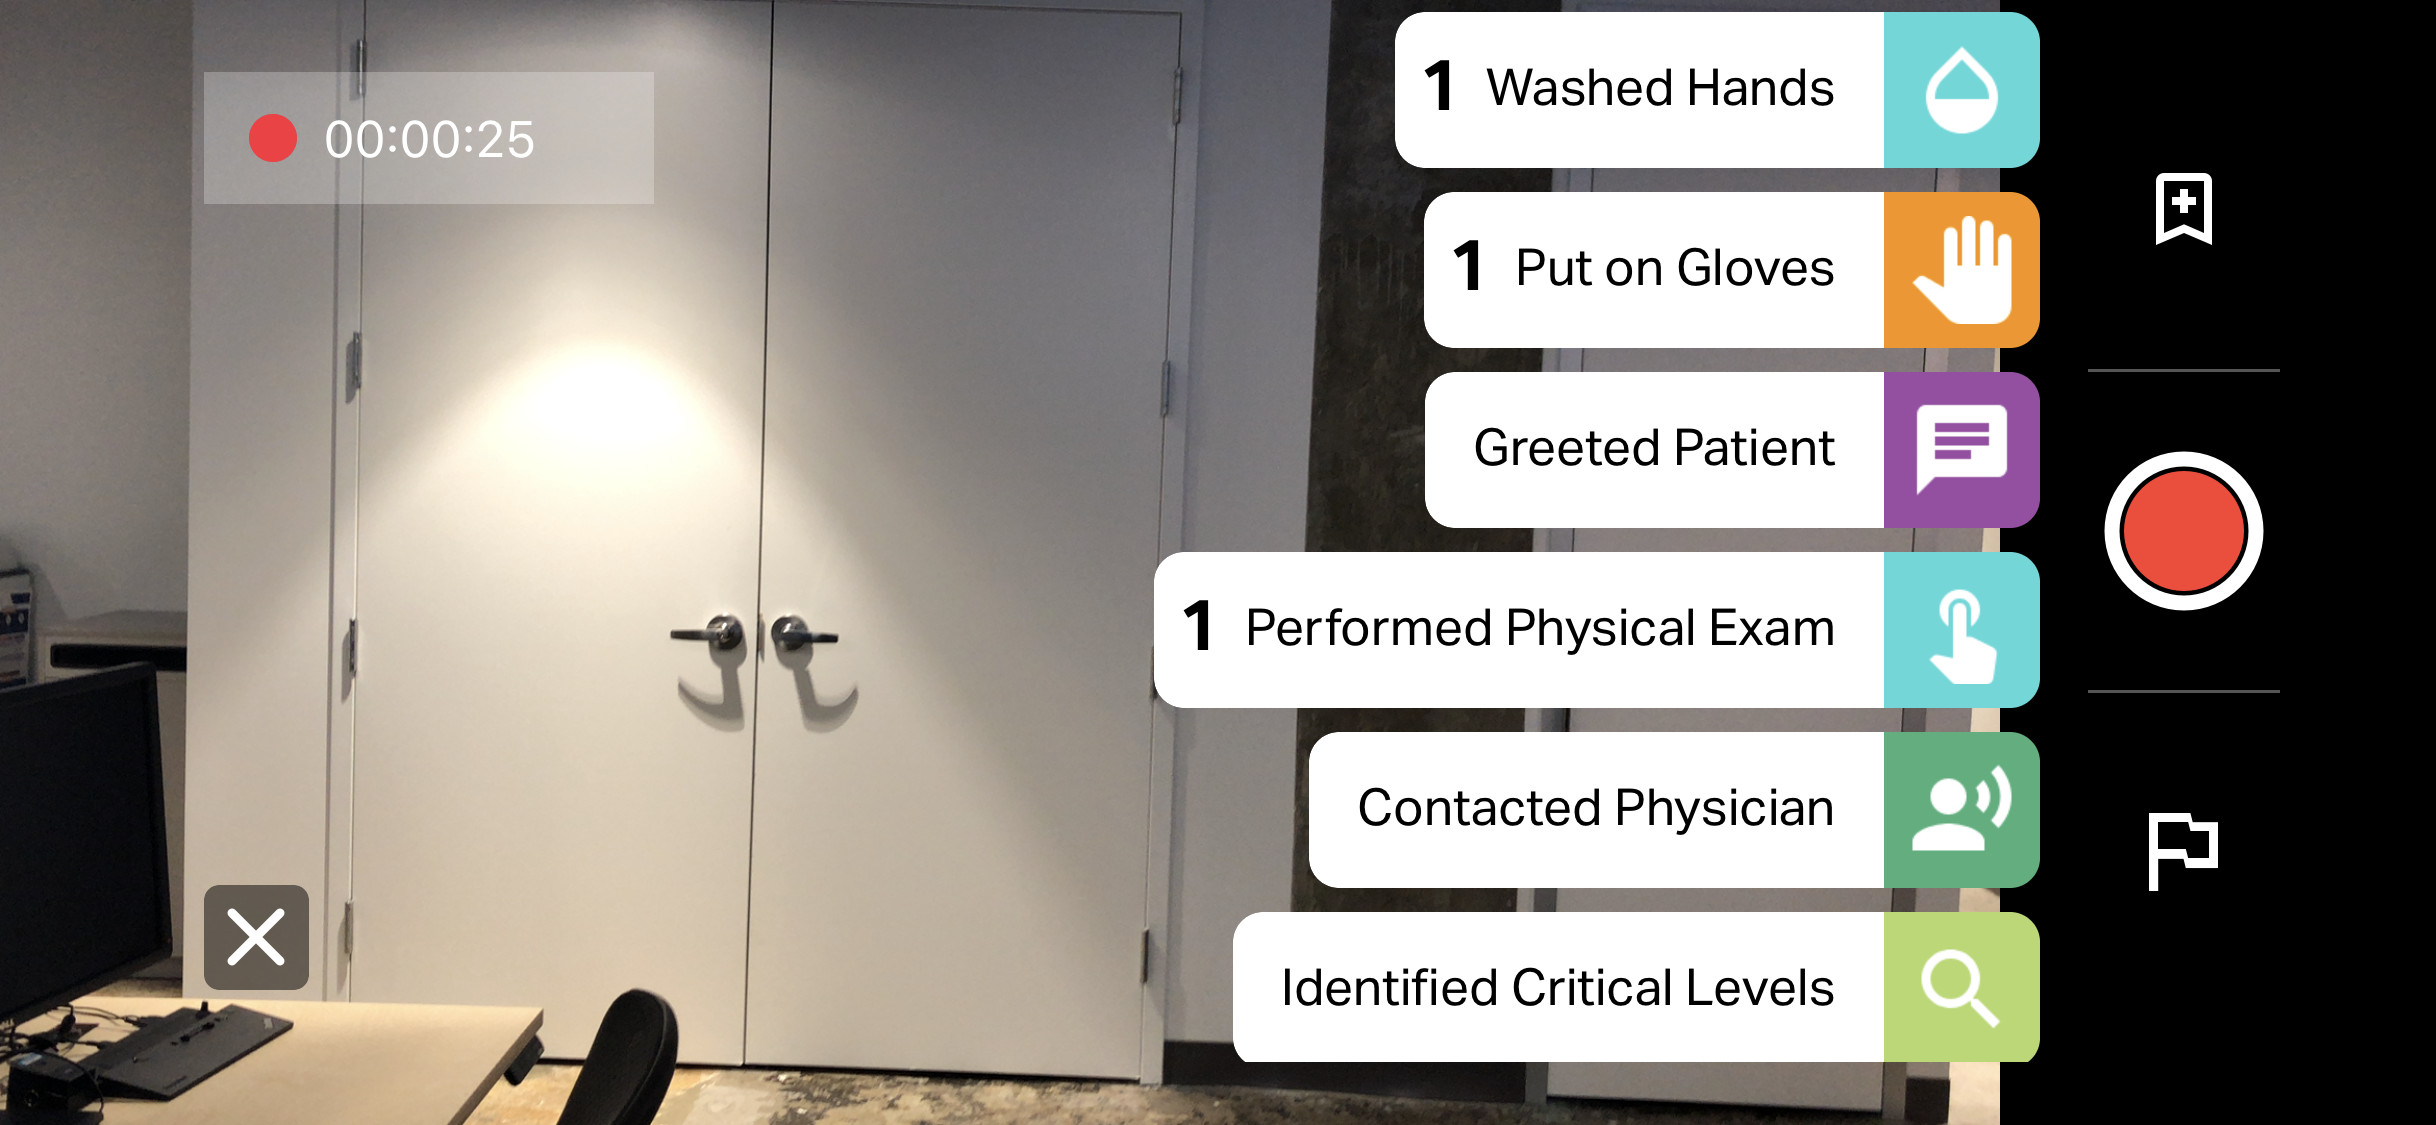
Annotating a sessionDuring a live recording, you can make two types of annotations:
Predefined annotations can be accessed by clicking the bookmark icon at the top of the screen. The annotation list will be populated based on the selected scenario. If no scenario is selected or the chosen scenario has no associated annotations, this option will be unavailable. Tapping an annotation will place that bookmark at the current moment in the video, and you can see how many times each annotation has been made. Generic flags can be added by tapping the flag icon at the bottom of the screen. This will create a generic annotation at the selected point, which can be viewed or edited during the debriefing. |
|
Saving a sessionOnce your recording is complete, you will return to the Sessions list on each device. If cellular data is turned off, the session will wait to upload until you are connected to WiFi. However, you can click the up arrow to initiate uploading over your cellular connection if WiFi is unavailable. |

|
