SimCapture Enterprise with Exam System: Remote OSCE basics
Discover the fundamentals of implementing a Remote OSCE with SimCapture Enterprise and Exam System.

Written by Jeri Ellis
Updated at October 16th, 2024
Table of Contents
This article provides a step-by-step overview of the key workflows involved in conducting a Remote OSCE (Objective Structured Clinical Examination) using SimCapture Cloud. The workflows include:
Proctor Workflow:
- Proctors manage the Remote OSCE via the Control Interface, where they can configure rooms, courses, scenarios, and participants.
- Proctors have the ability to start encounters in bulk, monitor rooms, and add or configure additional rooms as needed.
- Symbols indicate participant connection statuses: disconnected (audio/video issues) or connected (present in the room).
- Proctors can use the Monitor Interface to oversee the exam, with specific permissions set in the course configuration.
Learner Workflow:
- Learners access Remote OSCEs via a designated button in the My Courses section.
- They can configure their camera and microphone before the exam and receive notifications once the exam is ready to start.
- During the exam, learners view a virtual room, their name, the remaining time, videos of themselves and the Standardized Patient (SP), and access to an Electronic Medical Record (EMR) if applicable.
- Learners can end the encounter by pressing the Stop Encounter button and return to a waiting room after completing the exam and any evaluations.
Standardized Patient Workflow:
- SPs access the Remote OSCE from their My Courses section and can configure their camera and microphone in the virtual waiting room.
- Once assigned to a virtual room, SPs wait for the learner to enter and the Proctor to begin the encounter.
- SPs see similar information as learners during the exam but do not have access to the Stop Encounter button. After the exam, they return to the waiting room.
Firefox is not supported for Remote OSCE. Please use the Chrome web browser to gain access to exams.
Things to know before you begin
Technical Requirements:
- Chrome is the recommended browser, with Firefox not supported.
- Hardware such as a desktop/laptop with an up-to-date browser, microphone, and camera is required.
- A minimum network bandwidth of 1.2 Mbps is necessary, and potential issues may arise from restrictive network environments.
Proctor workflow
Accessing remote OSCE
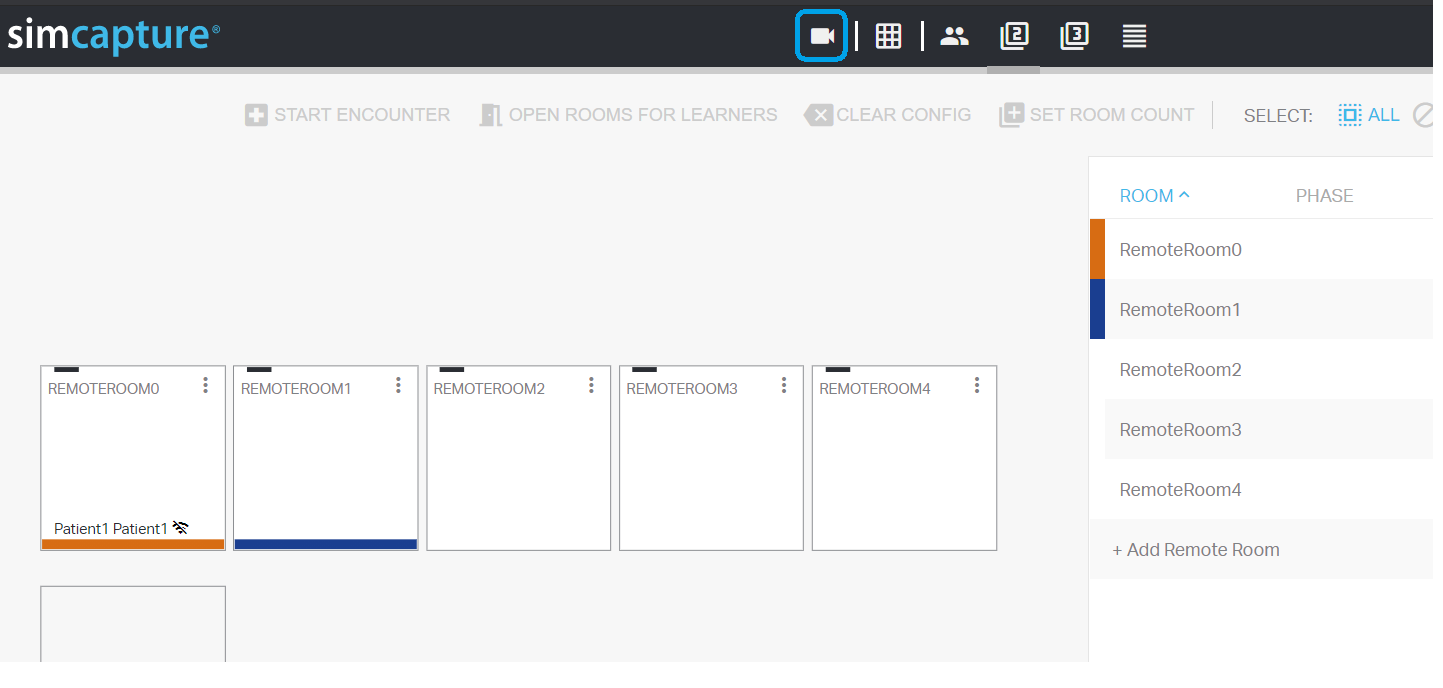
Proctors with access to the Control Interface will see a Remote OSCE symbol when this feature is enabled for their client.

Once selected, the Proctor will see an interface similar to the standard Control Interface. This includes:

- Bulk action to start encounters and open rooms for learners.
- List of individual rooms, which can be selected and configured.
- Configuration options for courses, scenarios, patients, learners, and display color.
- Ability to add rooms on demand.
Note: When running multiple Remote OSCEs, course, scenario, and patient information will persist unless cleared by the Proctor..

As both a Learner and Standard Patient enter the Remote OSCE workflow, the Proctor may see the following symbols in each room:
-
 Disconnected - participant not connected (possible audio/video issue). .
 -
 Connected - participant is present in the virtual room.
Note: Proctors can use the Monitor Interface during the exam (view-only permissions).
The user monitoring a virtual room must have Monitor Permission at the course level, found in Course > People > Monitors.
Learner workflow
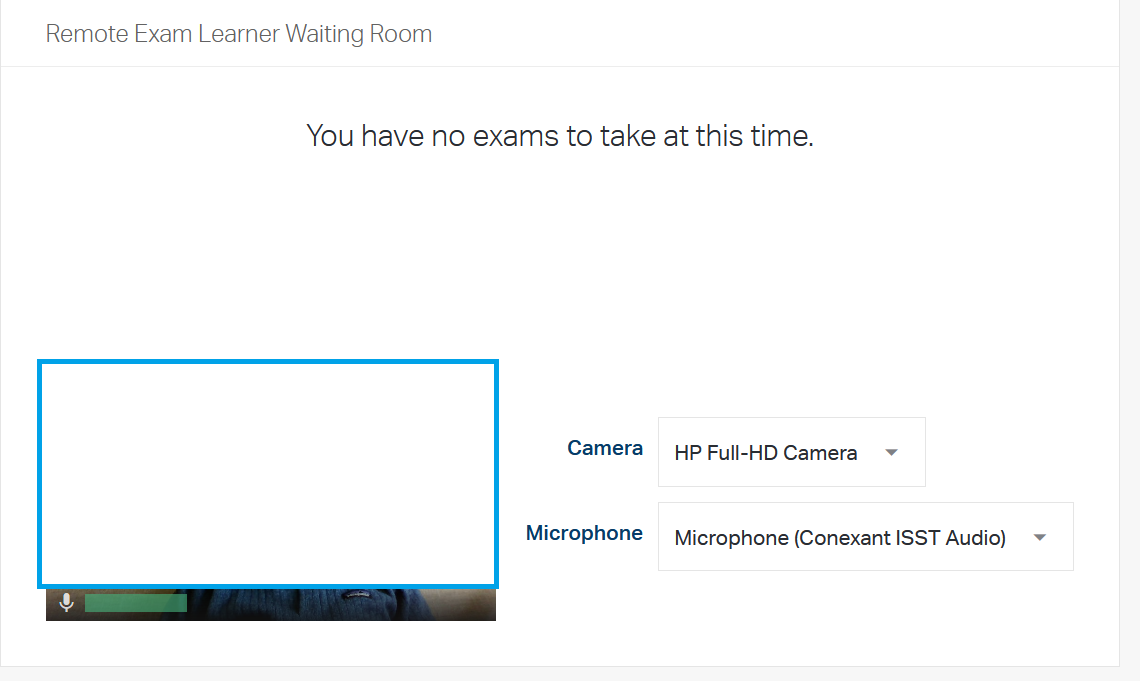
Learners access Remote OSCE exams through the "Remote Exam: Learner" button in the My Courses section. If the learner is not configured to a room, they will see a "No exams available" message.

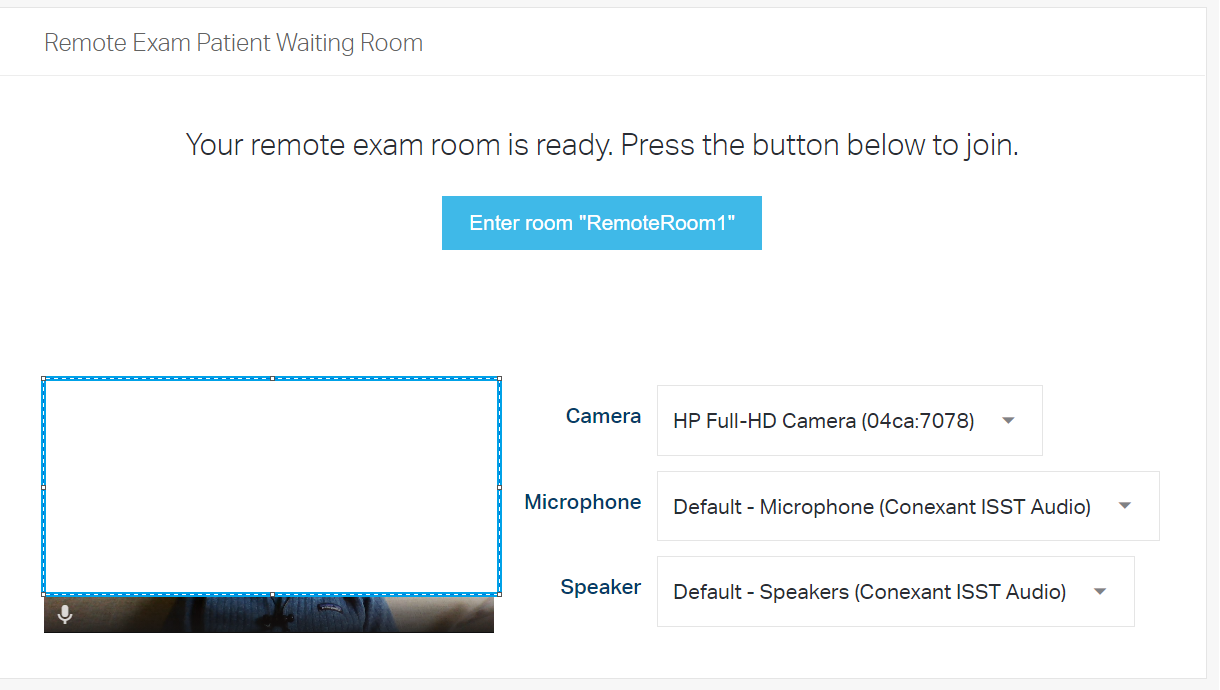
Learners can select and preview their camera and microphone settings before the exam starts.
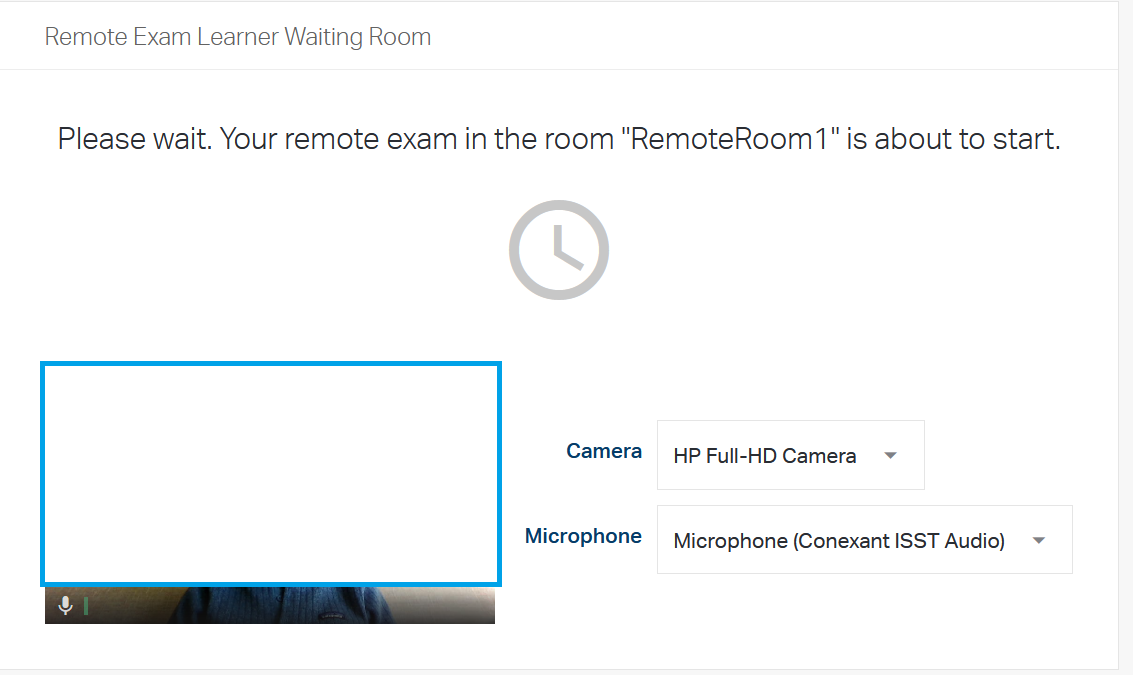
Once the Proctor places the Learner in the room, the learner will see a message indicating the exam is about to begin. The learner can again select and preview their camera and microphone before starting.
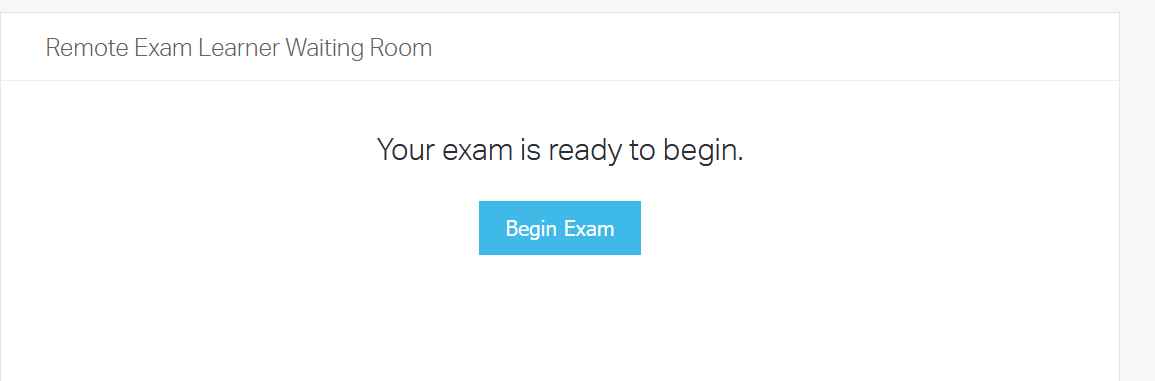
Once the Proctor has opened the room for Learners, the Learner will see the Begin Exam button at the top of the page. Once pressed, the Learner will move to the first stage of the exam flow, such as the Honor Code, Door Note, or EMR.
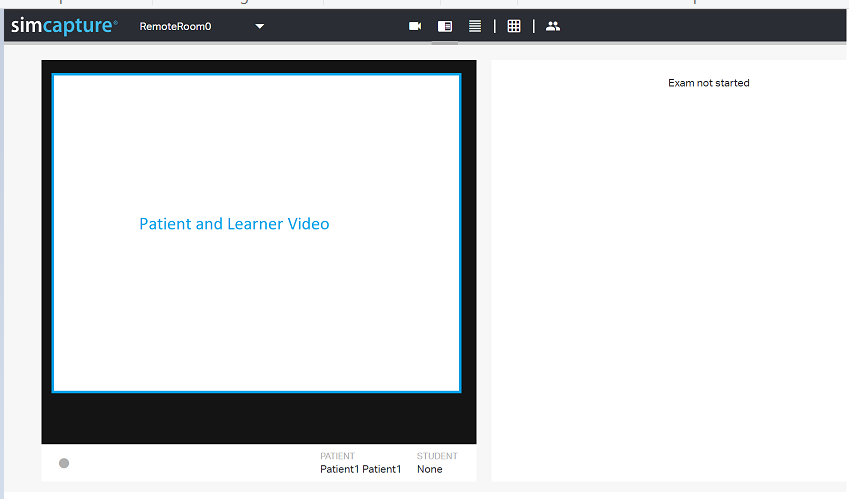
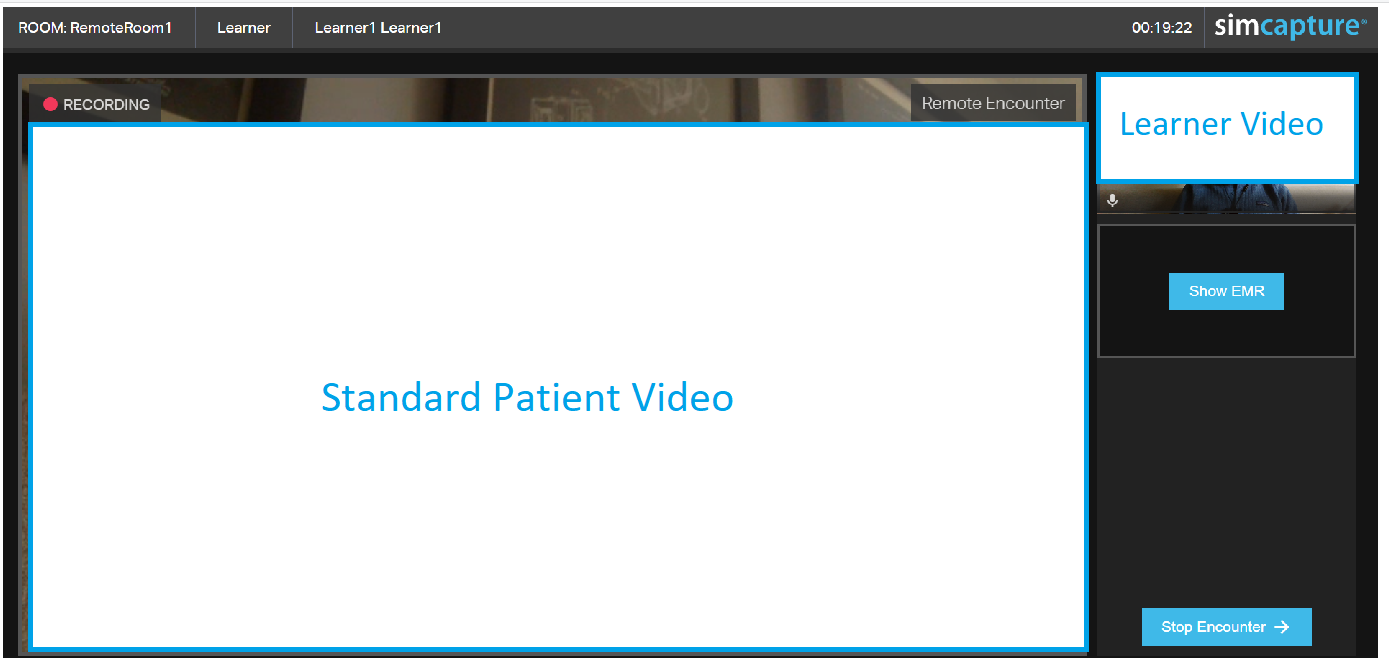
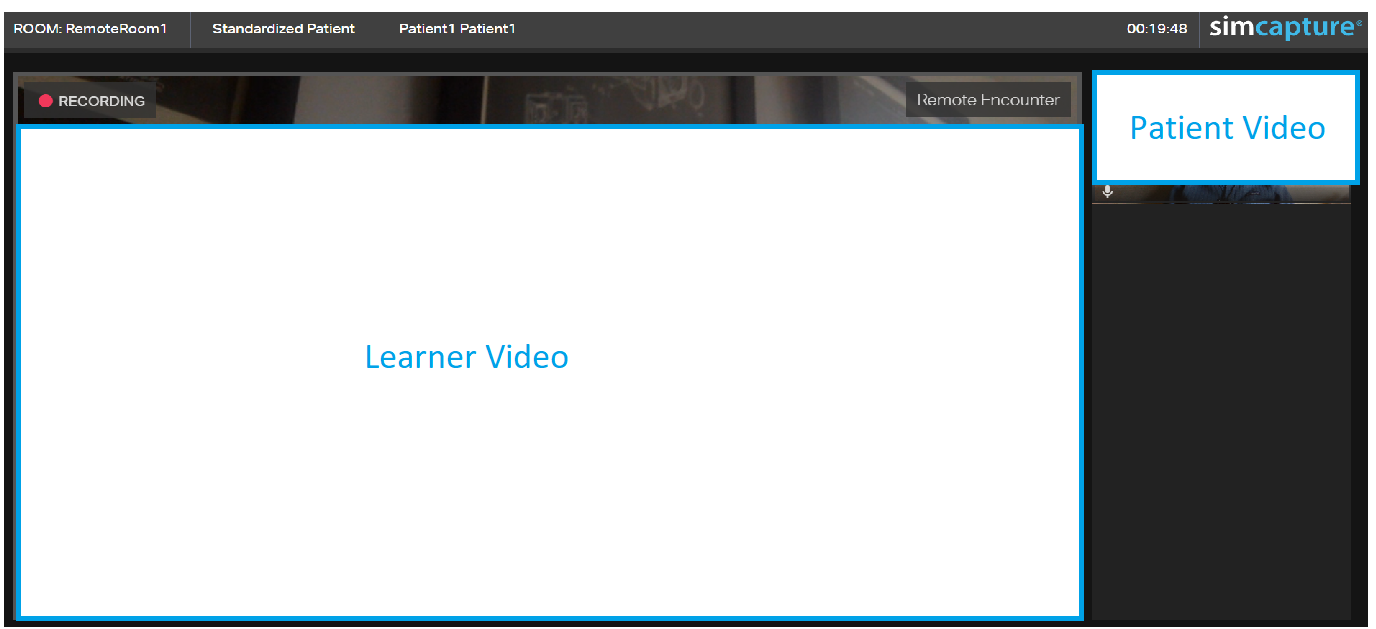
During the exam, Learners will see a screen showing:
- The virtual room.
- Learner's first and last name.
- Time remaining in the encounter.
- Videos and audio of the Learner and Standardized Patient (SP).
- The Electronic Medical Record (EMR), if applicable.
- A Stop Encounter button.
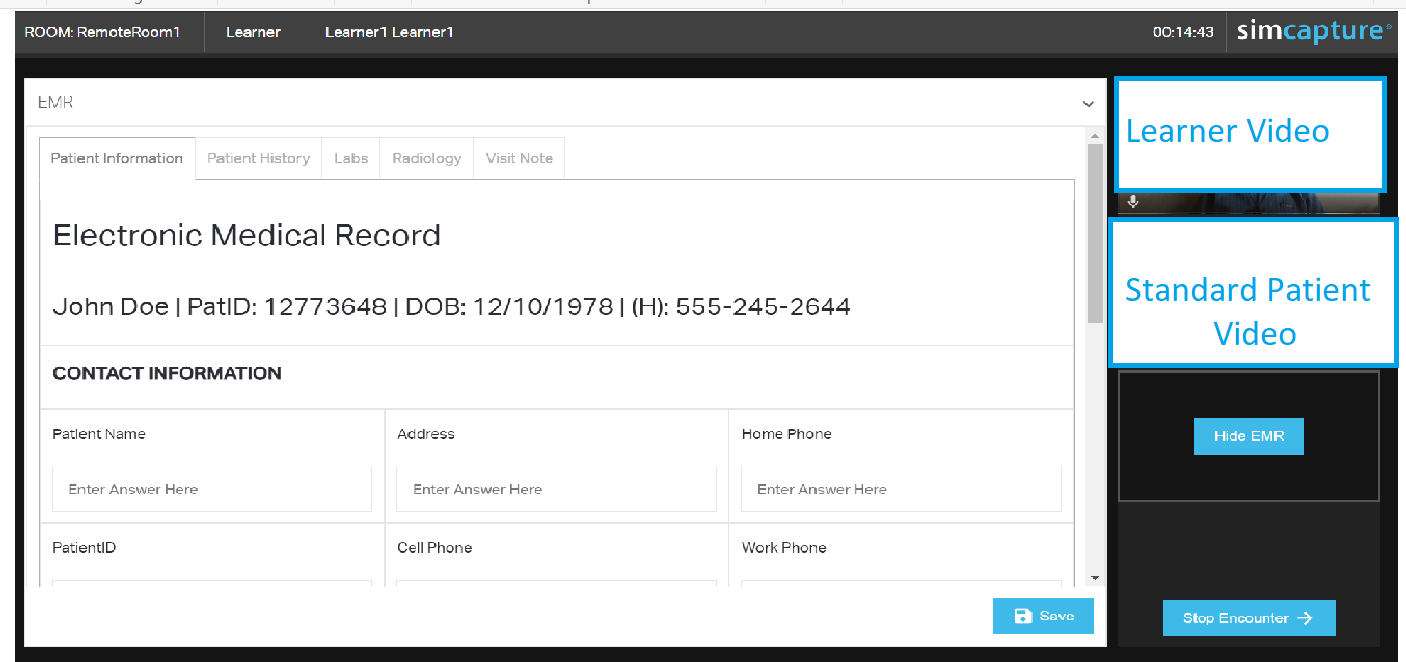
When provided an EMR, Learners will have this brought to the forefront to complete while still viewing Learner, and Standard Patient video feeds.
Once the encounter and any follow-up evaluations and/or recordings are completed, learners return to the Remote Encounter Waiting Room to save progress and exit the session.
Standardized patient workflow
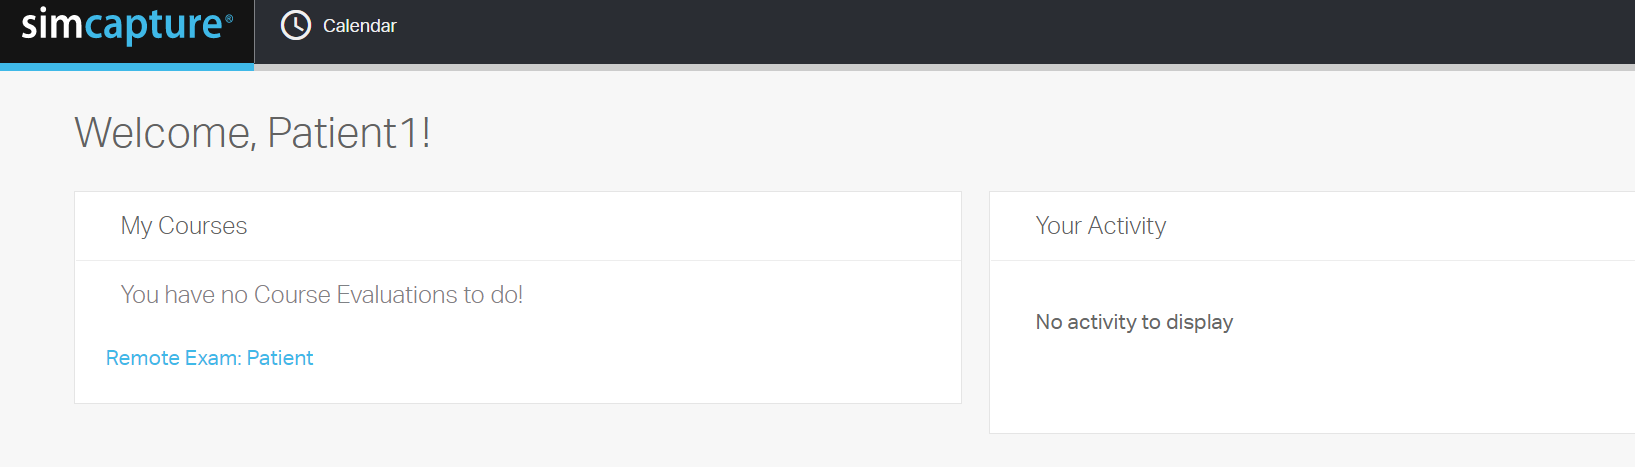
Standardized Patients (SPs) access Remote OSCEs via the "Remote Exam: Patients" button at the bottom of the My Courses section.
The SPs will enter a virtual waiting room where they can select and preview their camera and microphone settings.
If they are configured for a virtual room by the Proctor, the Patient will enter the room at any time. While waiting for the Learner, the Patient may see messages such as Waiting for Student to log in or Waiting for Student to enter. During this time, the Learner progresses through the Honor Code, Door Note, and/or waits for the Proctor to open the room for the encounter to begin.
Once the Proctor has begun the encounter, the Patient will see a similar screen to the Learner. This includes:
- Virtual room name.
- Role of the user.
- User's first and last name.
- Time remaining in the encounter.
- Learner video feed.
- SPs own video and audio preview.
Note: SPs do not have access to the "Stop Encounter" button. This is only for the Learner.
Once the encounter is complete and any follow-up evaluations and/or encounters have progressed, SPs return to the Virtual Waiting Room. They can re-enter the room if additional encounters are scheduled.